Spring shackles

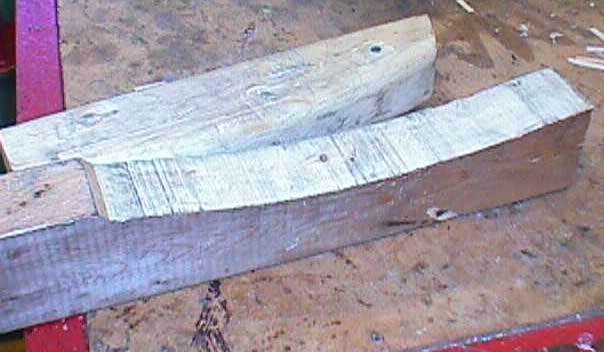
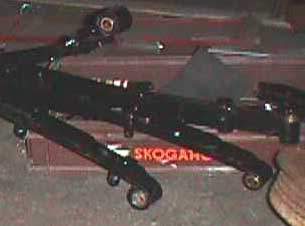
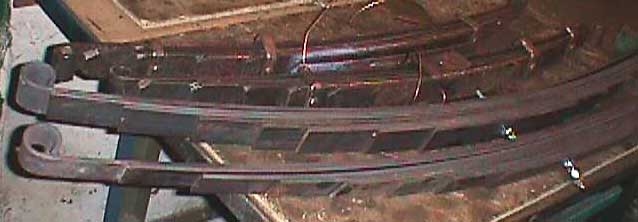
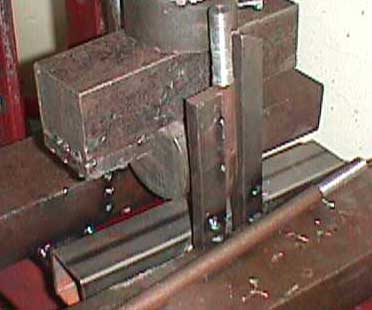
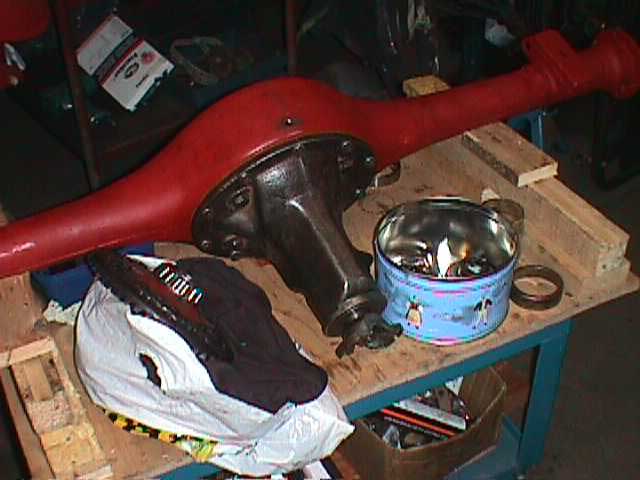
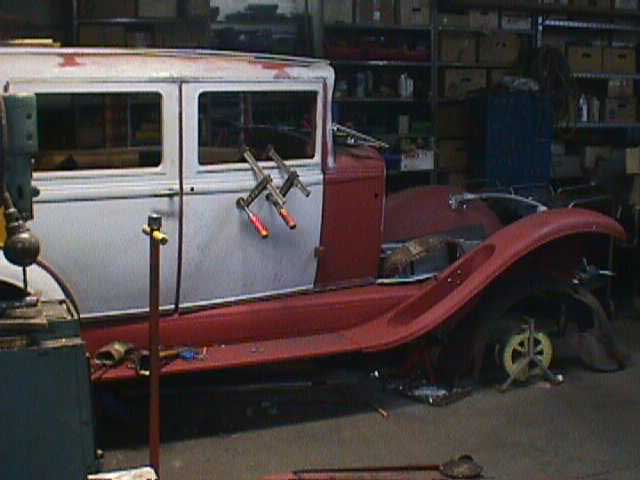
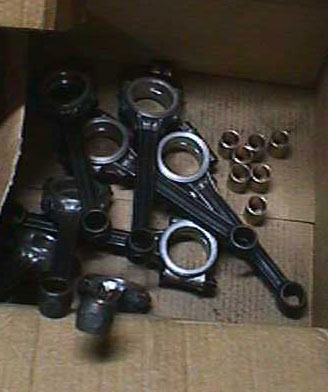
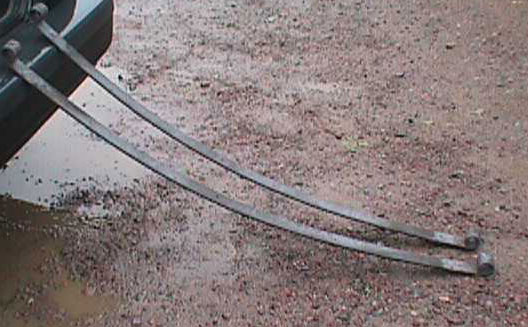
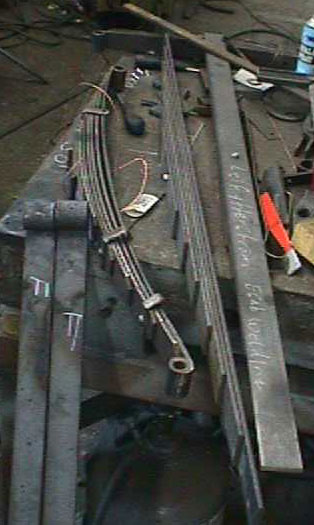
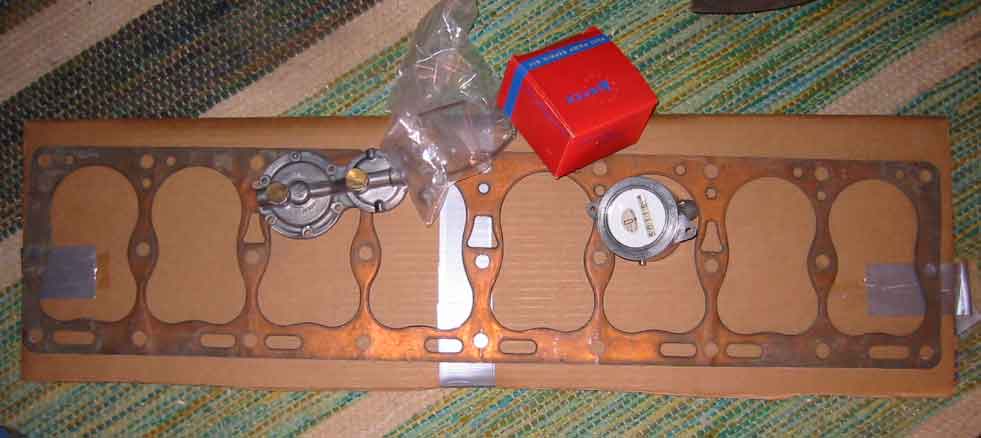
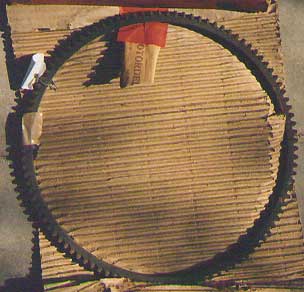
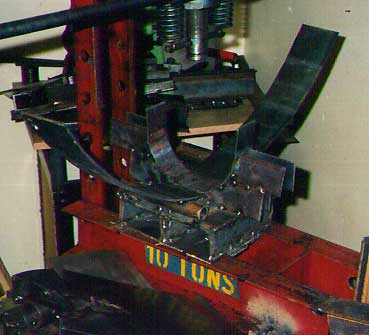
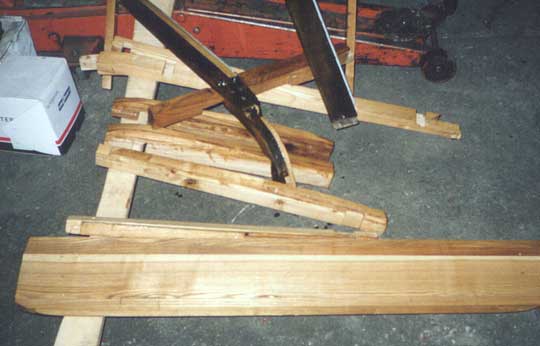
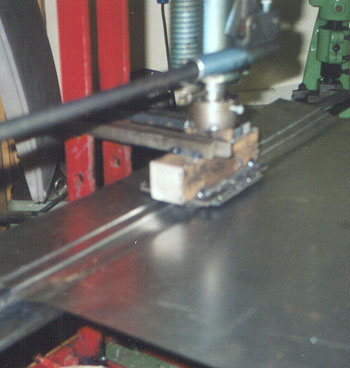
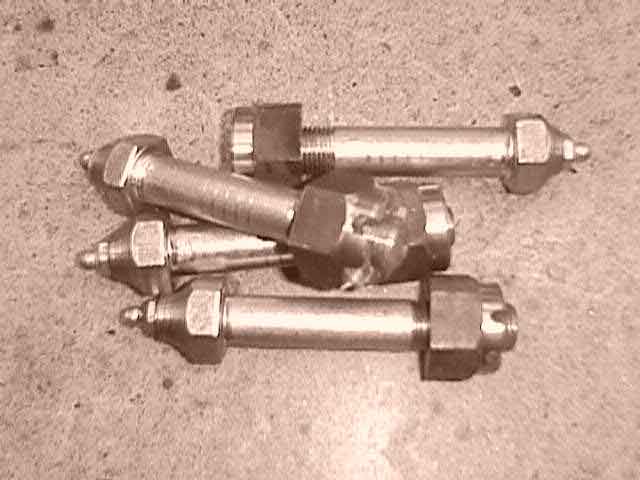
I have been made new spring shackles and switched the pin in the frame and the spring with bolts. The bolts has an hole in the center for the grease. The bolt in the front and rear has also been made new. The shackles links is also new. The nuts has also been made too fit the shackles and bolts. On the bolts has an grease nipple been mounted.
This is not perhaps the original style and all the threads has been made with UNF but it looks “old” or?
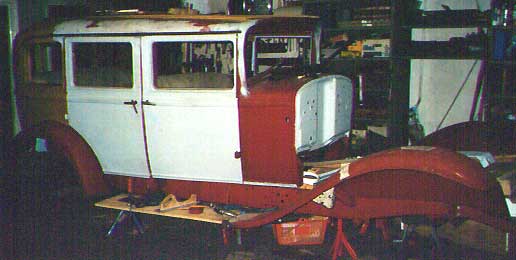
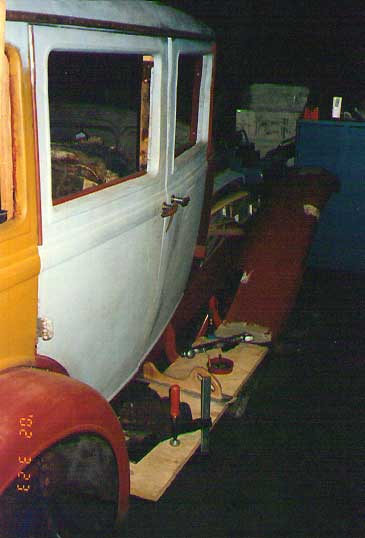
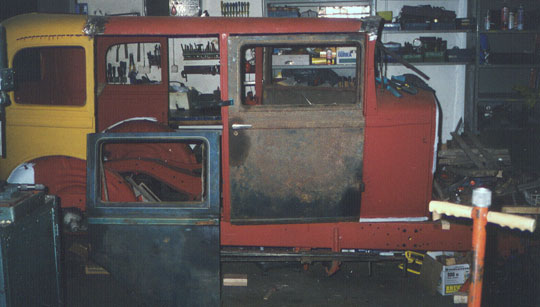
The door handles I just now thinking of to bought new ones that is similar and not make new ones.
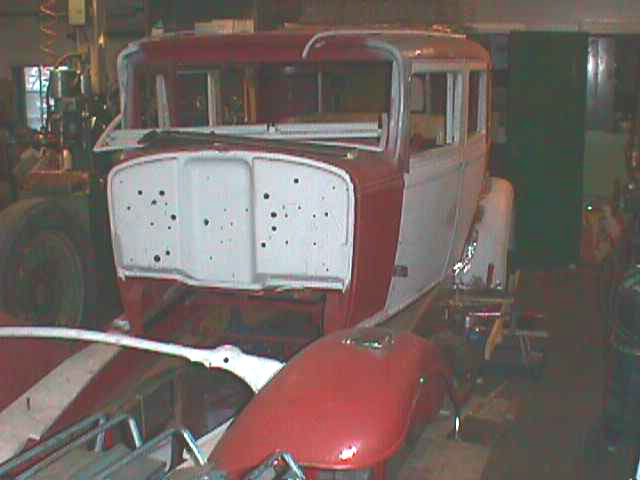
The radiator shell is still missing but I am waiting for that one perhaps turns up.
Total amount of time 985 hours so far…..
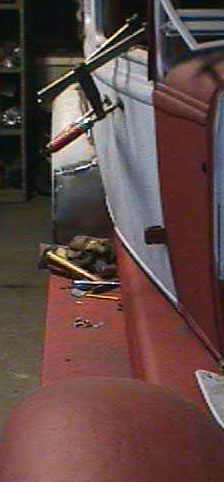
shackles

shacklesbolts

springbolts

Rear panel

After the springs my latest work is the side panels in the rear against the fenders over the gas tank. There I began making a simple tool in wood . Which I used bending and making the radius towards the outside. After welding and making the small bend about 8 mm for fitting the rear panel over gas tank.
The rear axel has shims been done that holds the right measure for the bearings.
Total amount of time 968 hours so far…..

rearpanel

shims

woodtool

Springs

The last month I have spent my time making the rest of the work on the springs. When the springs arrived the eyes have been made and the leafs has been curved. Then began the work .Then I cut the ends of each leaf. After that I made clamps totally 10. They have been riveted to the leafs according to the measure I have got from the WOKR. Then the clamps was drilled and an 5/16″ bolt has been mounted at each clamp. To each eye where bushings in steel and bronze made. After that the springs where painted black. The work to be done is to lay a very thin layer of grease between the leafs and then mount it all to the rear axel. For that purpose I was forced to make four new U-bolts. I made a tool to bend with after making threads. The front springs has also new bronze bushings and the springs have also been painted black.

eye

spring

springs

uboltmake

uboltool

Rear fenders

The last 14 days I have spent remaking the left and right rear fenders. They did not fit proper to the plate that cover the frame and are fastened to the fender. They did not line up to the outer from the front fenders and the footsteps. There is still some job with them before that is ready.
The rubber that cover the hole under the rear seat has been made and also the ring to mount it with.
The rear axel is adjusted little more and I think it is alright now. The outer bearings is mounted and the cover and distance plates is cleaned. The brake shield and drum is mounted to see how it would fit together I would dismount them and fit them correct later.
The rear springs has arrived bended and ready to be made clamps for and cutting the ends, make bushings and so on.

spring

rubberplate

rearaxel6

rearfele

rearferi

Rear axel

Just now I am working with the rear axel. I have mounted the crown-wheel in the house .I have also cleaned and fitted the housing cover just now I am fitting the pinion to the crown-wheel. It is taking a lot of hours when marking the gears with paint and adjusting it a little all the time with the pinion. All the bearings is new and mounted .
The rest of the axels is mounted later when the gear mounting is finished.
The rear leafs is still on the job list in the blacksmith shop. Some cleaning work has been done by the brake parts all the mounting parts is now nearly rust free on one side.
The gas tank is in progress what I have heard.
I have also done some adjustment on the left rear fender some plates is still remaining and to be weld in place.
I have got email from John Stokes , New Zeeland, regarding the interchange of the carburetors among all the other information. Thanks! That means that I have more possibilities to make an god choice of an carburetor.

rearaxel1

rearaxel2

rearaxel3

rearaxel4

rearaxel5

Left side

The last 14 days I have been busy with the left side . The front fender is fitted to the footstep and the appron. The rear fender has also been fitted to the footstep and the appron.
The front fender is new riveted wheel trunk bolt made and is in place with the big plate behind.
The rear axel is sandblasted and all the brake parts also. All the parts were painted black.
The rear axel is some adjustments done so it will fit to the car. The brakes and also adjusted to fit to the mechanical brakes.

brakes

lefts1

lefts2

I have just visited

I have just visited and took a look at the engine, valves, pistons and the bushings for the pistons.
Then I went to get the rear mainleafs that got eyes for the shackles and the bolts.Then I needed help to bend the rest of the leafs. to fit in.
The bearings for the rear axel and the pinion had also arrived.
The rear fender on the right side is made new plates and and deal of welding and fitting. Some work just now to fit the rear end of the fenderotherwise finished with that.
I have also dismounted the radiator and got to a shop that would help me to rebuild it.
Just now looks the right side like this.

valves

rightside3

rearight3

rearight2

rearight

radiator

pistons

mainleaf

leafs

engine4

bearings

The work

The work for this month has been somewhat plottery.
The parts that I had become help with was not ready and I was spent much time to talk and ask for them to make some progress but……The parts is the head leaf to the rear springs I was getting help to make the eyes for the spring bolts but they was somewhat busy just now…The bearings was one week only a day or two away but I have not seen them yet!
The engine has been milled I he said that it was time for me to come and see if the eight cylinder is being to rusty or he was thinking of to make a new cylinder.
The radiator shell is till missing-someone that have one left? I had to think if I shall make a new one .I have being thinking and trying with paper and see if it is possible for me to make one.
But some real work has been done .The footsteps are made in 2mm steel and fitted in place. That took much time to fit the footstep to the front fender and the side plates. I had to remake the rear of the front fender so that would fit to the footstep. After that I was eager to see how the rear fender would fit to it but… I saw had to be a great deal of welding and fit some new plates in to the fender so that it shall fit proper. I began to take away the sill plate in the rear door and remake and fit the plate below the rear door.
The job with the front fender, the wheel trunk , the iron that holds the spare wheel ,side plate and the footstep was finished by painting with rust primer
PICTURES SEE NEXT MONTH!!

The weather

The weather has been very fine and hot. The real working enthusiasm has not been there.
I have dispute that been doing some work.
The splash aprons is bended in a roll so that I can get the right curve.Firts thing to do is make an test plate that has the right angels. It seems to fit good and I take the real length 2meters.
Then begins the real job. After the 90 degrees curve I tried to fit the plates in the right place .But they did not fit at all in the inside of the front fenders. Back to my press tool and try too make the bend better!!! Only a rebuilding of the tool and some hours too measure and more pressing. Now the radius is right .Then after some measuring I could bend 90 degrees in the bottom .Now the fitting too the rear of the front fender begins. I have done most of the fitting on the right front fender. Even three bolts and the riveted bolt for the wheel trunk!
More parts has been bought the head gasket to the engine. Repair kit and new top to the fuel pump. An speedometer that seems to be right.
Just when I am writing this my contact calls and says that my bearings is very hard to find and it costs much.They where for the gearbox and the rear axel. Anyone that can help?

assec

fenderri

gearbox

sideplate1

testplate

trunk

I have not done

I have not done so much this month.I have been busy with painting and restore in our house.
Much of the work is just now of waiting that other people that helps me finishing there part.Such as bearings for the rearaxel and the gearbox, the rearsprings,gasoline tank, the engine and the ring-gear to the flywheel.
Here is some pictures for rearaxel .It is true that the International Truck of 1937 fits for the Willys!!!!!!!See picture.See picture.Thanks to John Stokes!
Here is more pictures.The floorboards is ready to be cut in the correct size.See picture.
The front and rear seats is new.See picture.See picture.See picture.See picture.

bakax

bakax1

baks1

baks2

floor

frams1

inred6

Under the first weeks

Under the first weeks in June I have made a lot of work. The rear axel from an 1937 International Truck is dismounted and found being nearly the same measures the ratio is 11 to 46 which is some less in against 10 to 44.
Now I would dismount the rear axel of the Willys and see if there is the same measures and then I can mount the things together in one rear axel.
The floorboards in plywood has got an layer of Ash-tree and then being measured in the right size. The edges is being glued. Then it had been painted black in the outside and inside it is being varnished.
The plate floor I had painted black on the outside.
The gearbox is totally dismounted and bearings and the main bushing is new .The gearshift end is yet missing.
New pistons, pistons pins and rings are bought and waiting on to be mounted when the engine is machined.
The rear seat and back had got new wooden frames and ready to be mounted with the cushions which I going to be made!!!

This month I have cut

This month I have cut the the leafs to the rear springs. The leaf package I left to a person that can help me to get the right curve and the eyes for the spring bolts on the main leaf.
The front fenders mountings in the spare wheels trunk where new plates made and even machined the rivets.
I have a helping hand to make a new gasoline tank.
A visit to Värnamo by Mats was ending with that I got the headlight bar with some rusty headlight and a couple of restorable rear fenders.
The rear axel is in progress. The pinion and Crown wheel was getting ahead by Greg at WOKR. He sent me some drawings for that purpose. John Stokes wrote from New Zeeland an e-mail. He wrote that International Trucks from 1936-41 has the same or interchangeable parts for the Willys8. Even the Borg-Wagner with no. WX2068-2069 was also a possibility.
The radiator shell was also taking a step forwards by some drawings and an ads in WOKR Newsletter .Which I am hopeful looking forward to get some answers from members.
The Engine restoration was in some progress also .I made new nuts in right size and hardened them also. All together 29 pieces I made two more then required

I have made frontseat

I have made completly new rest back and the seat frame in wood for the front seat.With the old hing and reinforcemnets plates.All that job was taken me nearly all the time in april!
I have welded the wheel trunk in the right front fender.See picture.
In the left front fender i have repaired and welded some big pieces in the trunk.
I have also mailed again to Greg and asked for drawings of radiator shell and pinion and king gear for the rear axel
I hope I have an contact that can make new ones for me after the drawings.
The rear spring is also in progress I have make an contact that would help me to make spring leafs.

reservb

I have mounted the roof

I have mounted, screwed and glued the roof ribs in place.
The side rib that is fitted along the body over the doors I have reparied and make new 50 cm long end on the left side.
Just now is tha car like thisSee picture.
The front window is taken a part and ready for sandblasting. I need to make or find a new handle that fits to the window also!
New wood from ash is byed and just now it is in a warm place to dry well a couple of weeks. Then I would make seats and backs for the cushions and some of it would also be floor in the rear. The wood piece is 65 cm width.
I have made a tool to make a wheel trunk in the right front fender. The right fender is welded,repaired and the left side is not all rust holes reparied.See picture.
The fotstep pins is reparied and welded on the right side. The left side I had to remake one from a wrong one that has been there before.See picture.
Greg in WOKR has done lots of work with helping me to get the right measurs on almost everything that can be measured, thank you Greg.
The engine project is in progress also. New main bearings, connecting rod bearings are made and the crankshaft is machined. The hole engine is now mowed 300 km nearer me and a guy should help be to bore the engine for oversize pistons and fit the valves.
Here can You see how I do to get an Willys 8(engine) in the rear of my Volvo 850.See picture.
I have found a new start gear to the flywheel and it was posted before Eastern than I would get some help to fit it in place.See picture.
The pinion project is in progress. I would visit a junk yard that have an Willys six 1931 chassi and see if the rear axel details fits.See picture.

engine3

junk

rightside

rightside2

startkrans

verktyg2

This month roof work

This month I have proceed with the aluminium roof cover and sanded,polished them and they look like new again!See picture.
The door sill plates in all four door is made,fitted and primed.Also the upper plates are made after the old ones.See picture.
The roof is varnished and placed in but not mounted. See picture.
All the woodscrews in the bottom wood in the rear and some others that remains are mounted
I have met a contact in Boxholm how has an Willys model 97 1931. I am interested in to take some spare parts from it.There was none pinion in the rearaxel!
The startgear on the flywheel is in progress I have found a spare parts that is correct and NOS.See picture. I also ordered a timingchain.
I have taken some picture of the rebuilded starter!picture.

roof1

sill

starter

flywheel

I have mounted reardoor

I have mounted the rear left door hundred times (it feels like that) up and down to make small adjustments every time. Then I have make reinforcement so the doors are in the right place even after that I have mounted them.
New roof bows are made and tapped in the roofsides. I have also fitted the roof wood in place but not mounted them. The next job for all these parts is to be varnished a couple of times. Then remounted and glued in place with some screws.
The “remaining” job for the wooden part is now to make the seats and rest backs for the front. There I have some parts left so that I can take some measures. The pictures shows before.
I have looked on the aluminium top covering on the roof and tried to make them as new again I hope!!!

I have placed all

I have placed all the wood in the doors and varnished it fitted the doors on the left side.Needed to reweld the roofside over the rear door.All the mechanisms is in place.See picture.See picture.
All the indoor handels is very bad. I need to make new ones but it is difficult to make the lines in the handels. I must figure out how to do this. Anyone that have handles to sell???? Mail me
All the door locks and stop and all the things that is on the door for correct function is repaired and painted.
I have also repaired the wood and mechanism under the right rear window.I could spare the handle!!!
See picture..See picture.
I have also located an generator and got some hints to fix the starter.
The rear spring with schackels is in progress I have got information from help of Greg and Paul and the WOKR. Perhaps I have located a pair thats on a six 97 or 98 chassie.Where I also hope to find the rear gear and pinion.
Got the phone from a person in Skövde he has four wire wheels in very good shape to the Willys.
Thinking on and planning the cushions both rear and front. I have some cushions and some wood fragment! But I have the mechanism to move the front seat and some holes so that I can see where it has been and one picture inside taken in an article in a swedish motorjournal from 1931!??
The instruments is what I am looking for!Help!

doorho1

doorho2

inred5

mekanism

I have fitted doors

I have fitted the doors on the right side both to the roof ,rear and torpedo.The top wood of the roof on the right side both that goes from the rear to the front window and fitted it in the front wood.
I have make the wood over rear fender and door and fitted it .The bottom plates under the cushion and the floor are ready welded and primed .All the wood are varnished. See picture.
The left doors and hood and lots of things are back from sandblasting and primed.The doors where very little of reparing.
The most of the wood in the left doors are ready. See picture.
The engine is still wating for to be arborred.
Got mail from Paul he think that I can use some radiator shell from other Willys.That one I have is an 1931 for the 97 model it fits correct to the radiator but in the top and rear it does not fit to the hood where it is straight not curved which this 97 is!!! See picture.

body2

hodoors

inred4

Get on to fitting doors

Get on to fitting the doors in place. Sent door on left side,hood and other things away for sandblasting.See picture. Kjell from Örebro phoned and said that he had head gasket I said I would by it. He would also be looking for starter, generator, carburetor, instruments and radiator shell. Fitting all the wood in the rear from the doors and back went on making and replacing all the wood and it is ready to be lacquered and place permanently in place. It is a satisfaction when you place the old piece in the place with new made wood around it. And it FITS!!!!
The floorboards in steel, in the rear, are being to be fixed and all the rust holes is replaced.

door1

inred1

inred2

inred3

Sent the motor block

Sent the motor block away to make new crankshaft babbits and arbor it. Begin to make wood to doors and renovate all mechanics.See picture.
Pressed one panel and went on fitting by using an English wheel but I failed and made second one that one I missed in measuring at last I made one more and fitted it by using an stretch and bend tool. Welded it in place and about 60 hours later.See picture.
Made wood to the front door and placed all the mechanics in the right place.
Mounted the doors in place and get an first hint in fitting it.See picture.
Renovated the crankcase welded and painted it on the outside.

door2

passning2

The doors

The doors come from sandblasting. But when I took a closer look to the front door it was completely worn out and lots of small holes. There was only to fix a new panel with all the pressings !!! made some tests in the hydraulic press and went to making press tools. See picture.

verktyg

Placed the panel roof

Placed the panel roof sides in there right place and reinforced and it welded it. See picture.
Sent door on right side and other things away for sandblasting. Become member of the WORK. Thank you Duane Perrin for the help. Got drawings for the instrument panel. THAT is missing!!!!!! Thank you Joe Lucks.

passning1

Repaired fender

Repaired the rear fenders bolt and and fixed the nuts. Begin to looking for replacement of the pinion and bevel gear. Repaired the vent. on the torpedo. the Rust painted all the plate work that has been done.
Nailed the torpedo to the wood frame.
Repaired the front window hinge and made new threads. Send the crankshaft and cranks to a man that would help me to make new babbits

Cleaned the valves

Cleaned the valves so that I could measure them for buying knew ones. Checked with people that could have some and asked for prices. The same work was with the pistons.
Asked for incurrence papers to fill in from MHS.
The man that had electrical parts phoned and I bought distributor, ignition and condensator .
Visited the firm that would undertake the milling and factory work with the engine and we decided. That I shold come back when I had fixed the exta big hole in the block so that it was correct.
The engine was stripped and cleaned all the bolts and things without two pins and the camshafts bushing and shipped out to the man that fix the hole. The plates outside the vents was cleaned ready for sandblasting so it is with oil pan tray also. The cylinder head is ready for to be cleaned also.
All the wood parts was taken away and I took it for sandblasting when it was done and I primed all the body, fenders (all three!) and roof sides the doors would be done later when I have mounted in the right places. See photo.
All the things were carried away so that I could begin to fix the body in place for welding in the rear and in the front.

Took the rearaxel apart

Took the rearaxel apart and the speval bevel gear was missing! Know I have an pinion but no rearaxel that it fits to.It is only to fix another rearaxel!
Loosen all cylinder head bolts one is broken and I have some trouble take it away and the same thing with the manifolds bolts three of them is stuck. See picture, nr 1 or nr 2.
Fitted the woodframe to the body and fitted it all together and the floorplates in the rear and in the middle was in place so that I was needed to cut and repass the woodframe.
Cut of the rearbody from the torpedo so the hole car is in three parts.
Beginning to loosen all the woodparts from the body and cutting all the bolts away.

engine1

engine2