This summer I have driven the Willys for a longer trip.
It was to Jonkoping around 220 km total when I was home again.The average amount of gas was about 2,5 liter per 10 km.
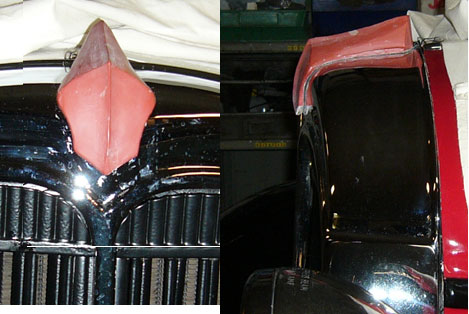
The Willys got the body pinstriped.It was made by hand like the old times.Using a thin paintbrush of fine hair.
Look into the videoclips there you can see pinstriping!!
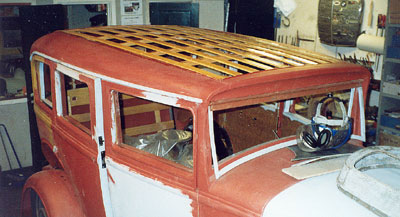
fore
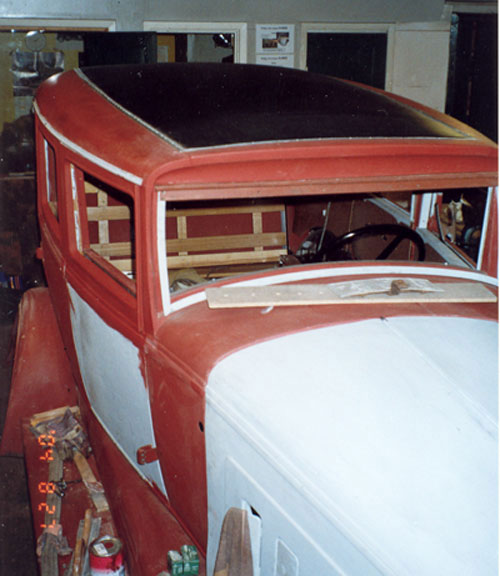
forer
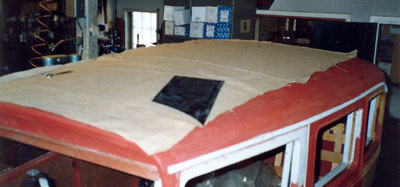
hbak