


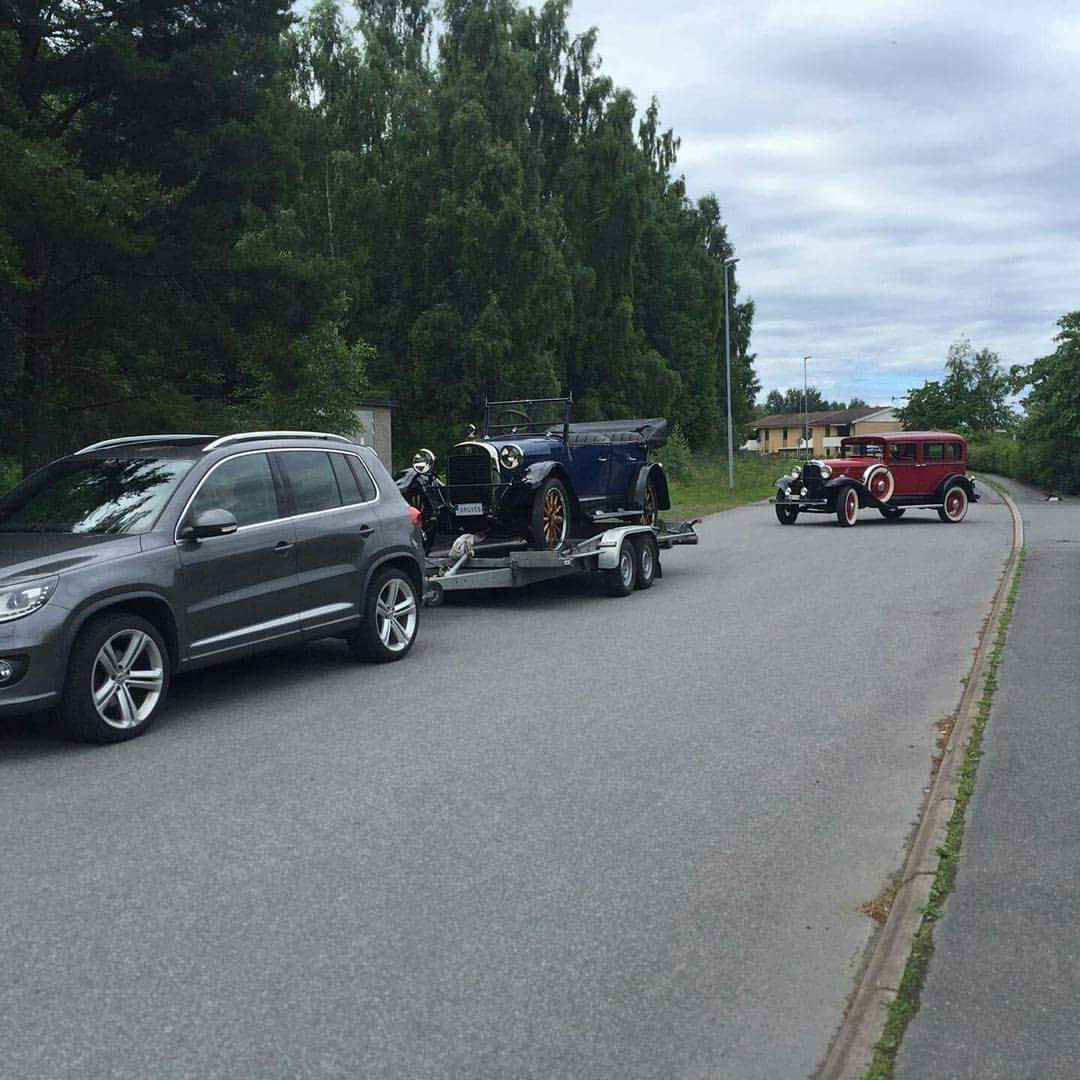
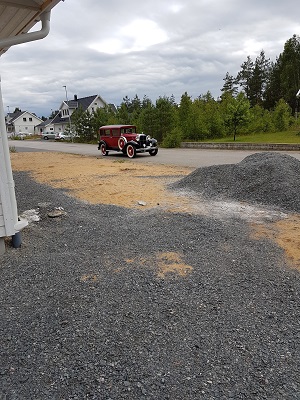
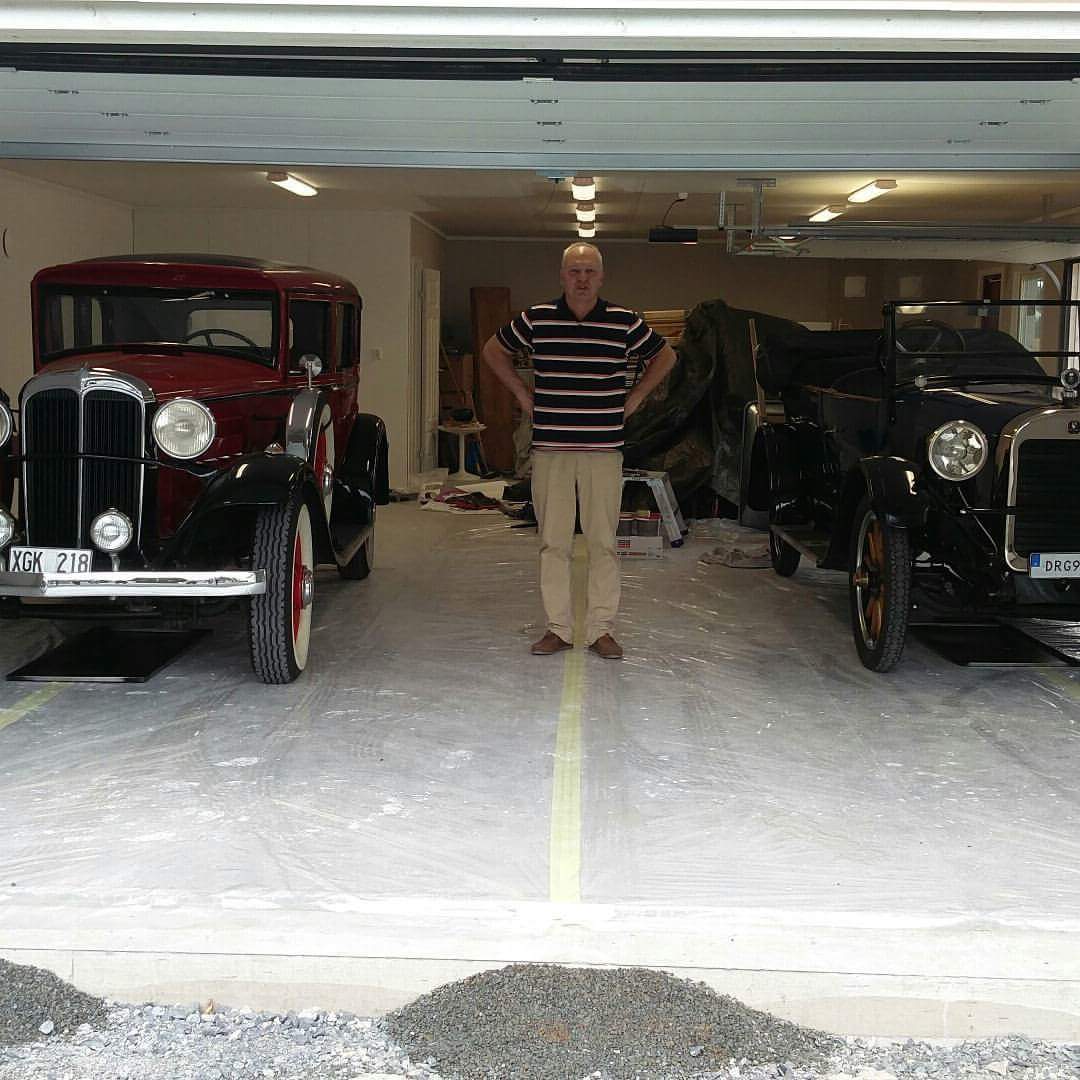
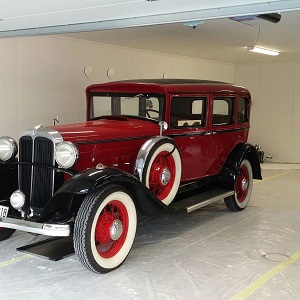
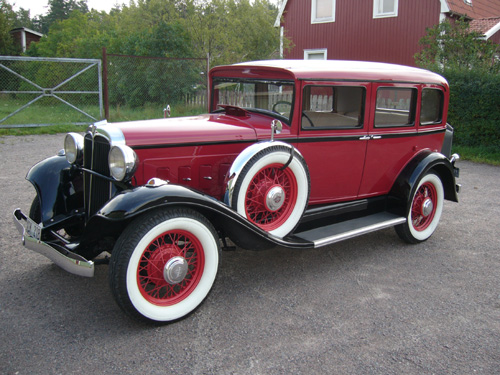
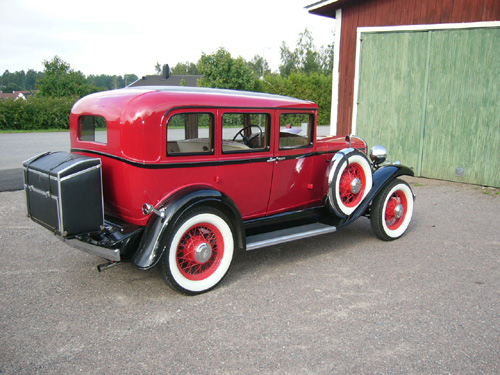
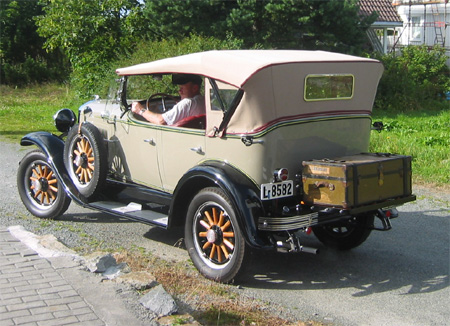
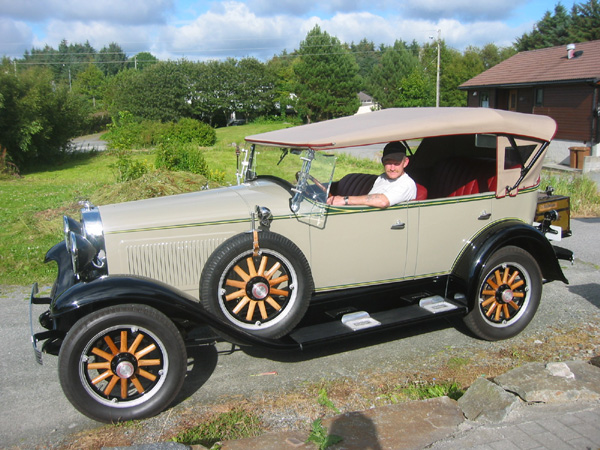
Pictures showing the trip from Mjölby to Vaggeryd and moving into the new garage. I started in Mjölby and stoped in Jönköping then making the rest to Vaggeryd in all about 130 km.

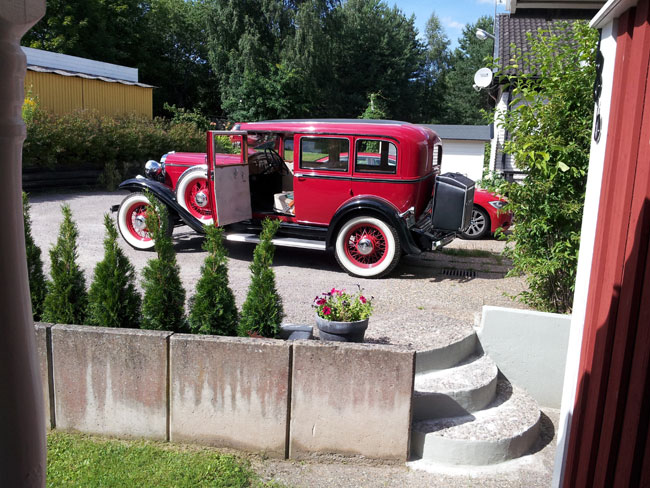
In August 2013 me and my wife took a trip round the lake Vättern it is about 350 km around.We drove in three small trips.
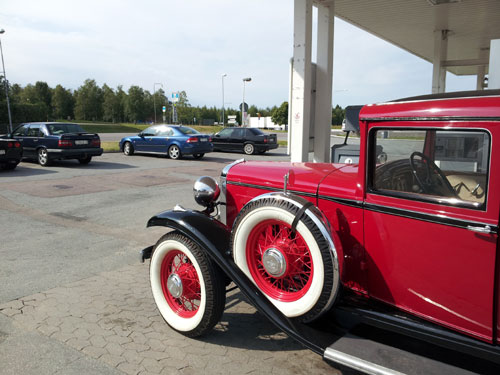
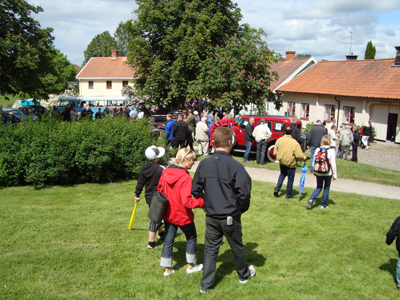
We also visited the Husqvarna meet. Here can you see all the pictures taken under the summer.

map
Hi all Willys fan!
I have driven in the Willys in for winter sleep.
I have done some tours around in the nearest area.
The last drive was a wedding in October.
The reason why this website not have so much written on is because
I have begun on a new great project restoríng one very unusual car from 1923 it is a Columbia Six.
Read more about it in www.columbia6.se
I have been working with building a small garden house in the last couple of months. That is the reasons why I not have written in the dairy.
The work that I have done since December is armrest in the rear.
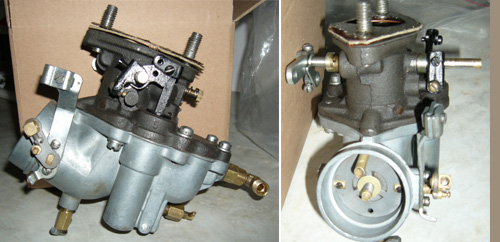
Fog-light was mounted in the front. The petrol-pump most of the parts was change to new ones. The carburetor is well cleaned.
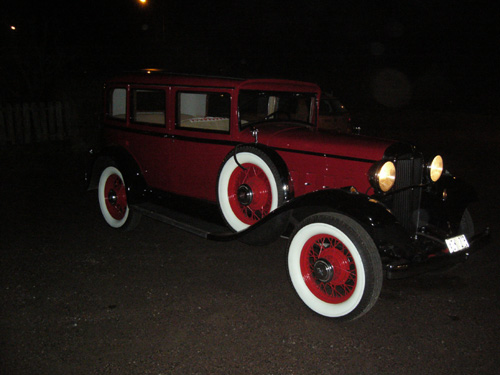
The 6 June was I participating in the Skänninge Motor Festival and the celebrating of our National-day. There were much interest for The Willys .HRH Crown Princess Victoria was there to speak and looking at the old village and she also was passing by in front of the Willys.

victoria2

victoria1
people
I wish you all a Merry Christmas and a Happy New Year.
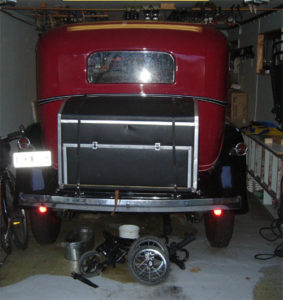
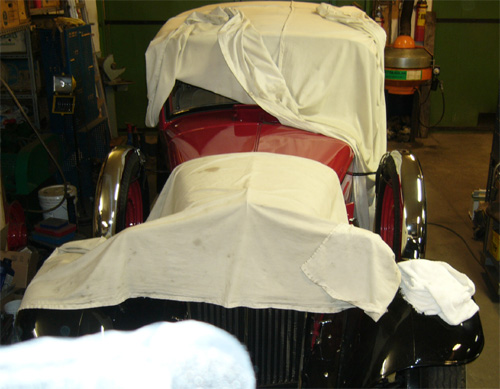
The Willys is jacked up and overhauled for the winter rest.
This season will be remembered as the year that I went the longest trip it was about 250 km. With an average of gas for 2,5 litre per 10 km.
For the next year I have order extra front lights and try to improve the petrol pump with new springs and even perhaps change the membrane also.

willysdec
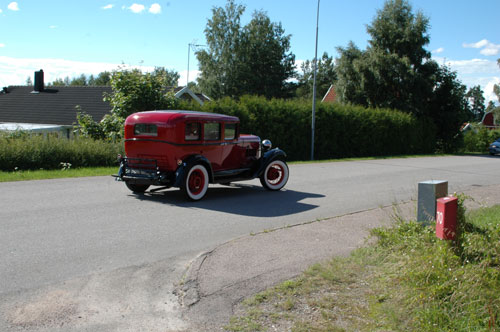
This summer I have driven the Willys for a longer trip.
It was to Jonkoping around 220 km total when I was home again.The average amount of gas was about 2,5 liter per 10 km.
The Willys got the body pinstriped.It was made by hand like the old times.Using a thin paintbrush of fine hair.
Look into the videoclips there you can see pinstriping!!
fore
forer
hbak
Hello all Willys-lovers.
I have just taken the first spring tour.
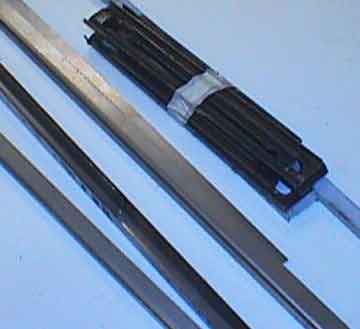
During the winter have I mounted a new filter for the gas.The gas gauge have I mounted in place again after a new tube and some reparing .After that refilled with red liquid.I have also put the electric wiper back after some remaking of the mounting screw and nut.
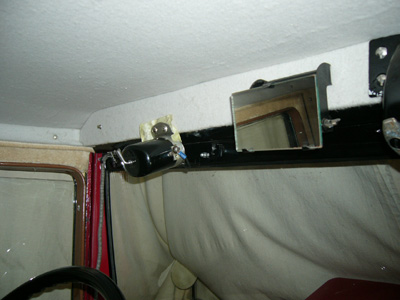
wiper1

filter1
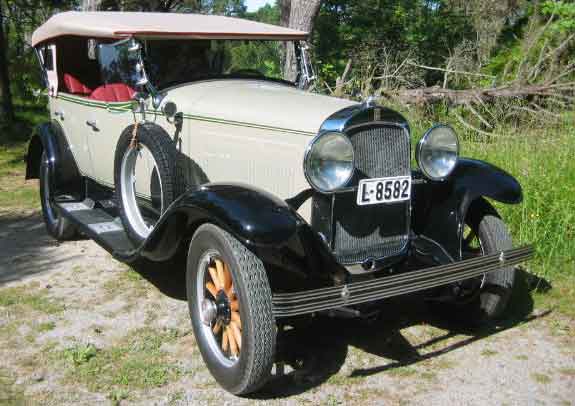
Hi all Willys 8 fans!
The monthly magazine ”Classic Motor” in Sweden had an article about my Willys8 –project
in there January issue. It is the biggest magazine in the Nordic countries.
Know they have released the article on there website
http://www.classicmotor.se/reportage/article187760.ece
The text translated can you find in this pdf –file
Willys Eight 1931.pdf
You must go to “Pricelist” tag on the menu and click on the pdf.
The pdf is translated by a conversion program hope you can understand the most of it.
Then you might image that it is the same story that I have told in my dairy from 2000 to 2008.There is also one link to this site.
Some photos is “new” as you can see. Hope you can enjoy it anyway.
In the same number is the story about John Willys and his life.
The headline “Alltid framåt med Willys” freely translated
“Always forwards with Willys”
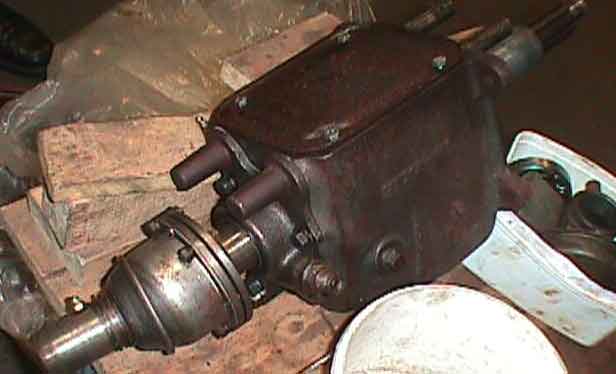
I am trying to fix the fuel gauge.The glas tube is broken. I am trying to find some glas tube to make one of my own.I have got some pictures from Kjell in Norway.Enjoy!
willysdec
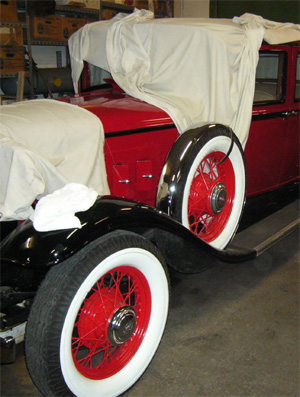
Hi, there all of you that visiting me.
I have jacked up the Willys for the winter sleep.
Before that I took some photos. It was already dark outside
– three a clock in the afternoon.
I let the roof lamp light when I took the photos.
Enjoy also one more video clip that I made before closing up for the winter.
I have some more photos under “Other Willys cars”.
It is John Scales Willys 8-80 Coupe 1930.
I wish all a Merry X-mas and a Happy New 2008.
outside07-2
outside07-1
Hallo!
Look at the video clip list!!!
More to come….
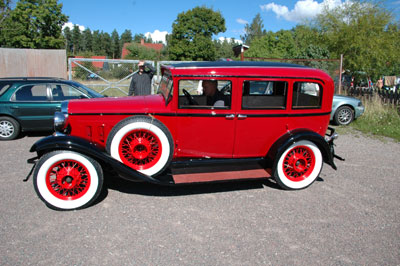
Since April I have driven the car and having trouble with speed and acceleration.
After that I adjusted both the breakers and for low and high speed. The sparkplugs were cleaned and adjusted. The carburetor was then adjusted so I got the right sound when accelerating and for the idling. After having done that the car seems to go like a watch.
When feeling that I have done the most of adjustments we (me and my wife) took a trip for about 150 km .All went ok except the amount of gas…..
The problem with the water is still there it is “boiling” when I am standing still and accelerate.
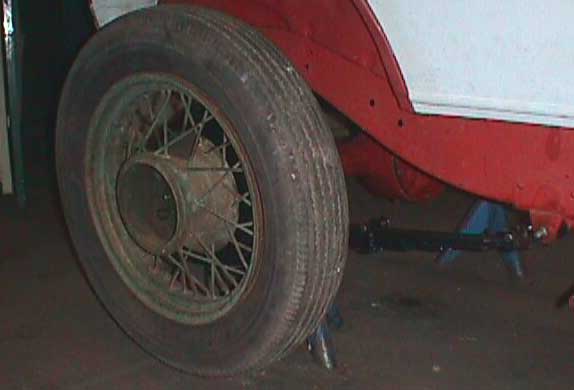
I have mounted a trip meter for bicycle on the left rear wheel for knowing how far I am going when driving around.
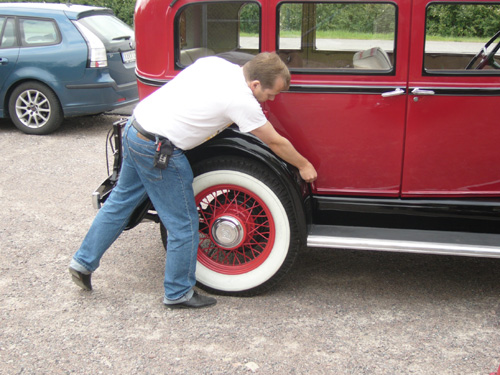
The spare wheel covers came from the chrome shop. I have mounted the together in the same strap with the rear mirrors.
The next thing that I have began with is to make two tool boxes in mahogny for the rear trunk there is still some work to be done there.
whlcover4
whlcover3

toolbox1
carbnew
I have not done much regarding to the WILLYS 8 .
I had advertisements in newspaper regarding the history of the car.
I got two very interesting answers from the son and a relative to the last owner of the car.
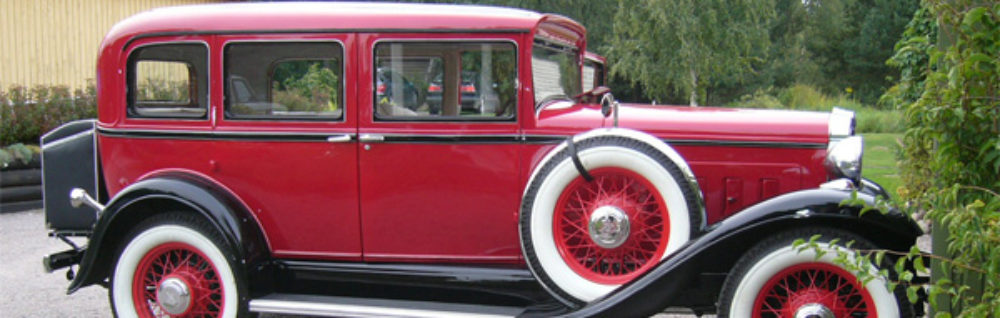
The information in brief was that the first owner used it most for cab driving.The Willys was thirsty it drank about 3liters per 10km.The interior was something extra with curtains in three windows in the rear.The rear view mirror inside had a clock mounted in the mirror.
I am planning of making steel band to spare tires. The A-Ford suppliers offers one in stainless steel.
To all of you in Norway,Germany,New Zeeland,Australia and in USA
I wish you all a
Merry Christmas and Happy New Year!!!!

santa06
I have made many short trips in the neighborhood.
The work with the small things in progress.
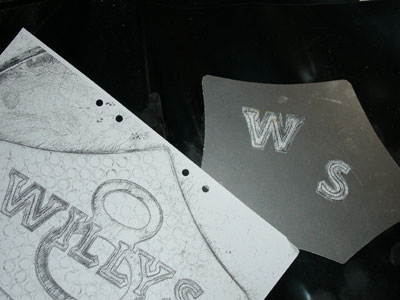
I have made two copies of the knobs on the dash. The first step was to lay the original knob in a clay form. The clay dried for a couple of hours. Then I placed the new wire in the form and filled plastic padding in the form and waited. After a about twenty minutes the plastic had hardened . Then I took the clay away and the next step was to make letters and paint the knobs..
octcar

knobclay3
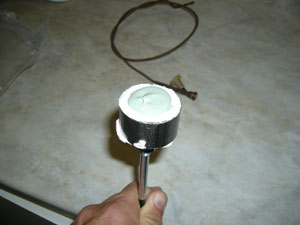
knobclay2
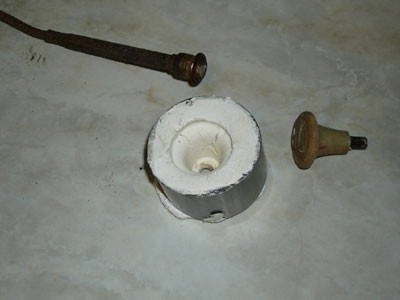
knobclay
Hi there!
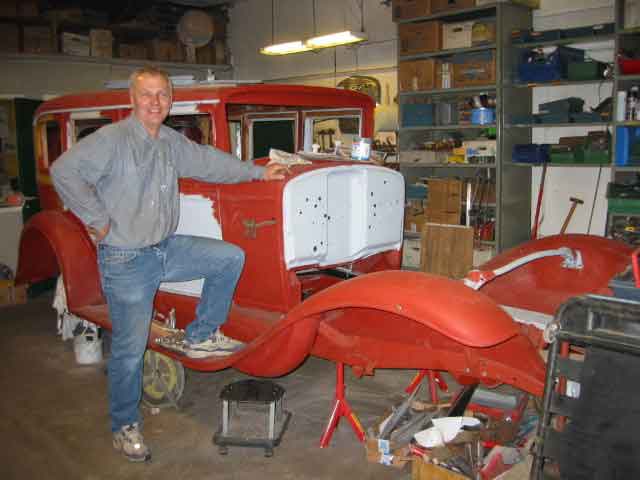
The project is still going on. As you have seen the car is working all right.
The jobs that is going to be done is adjust the valves, make so the water temperature instrument works, adjust the brakes, remake the rear springs they are to soft, work with the speedometer it is not function correct.
One new thing that I am doing is to make a copy of the hood ornament. The other new job is to do rubber ornaments in the footstep rubber.
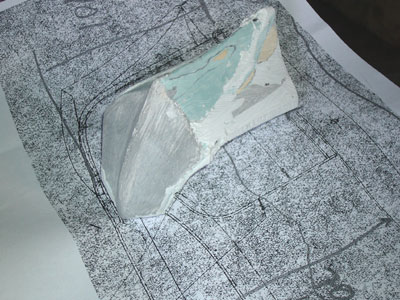
hoodorn1
rubberorn
I have started and test driven the car enjoy the PICTURES!!!
Starting, Away and back !!!
There is more to mount such as bumpers and some of the interior.
starting
away

back
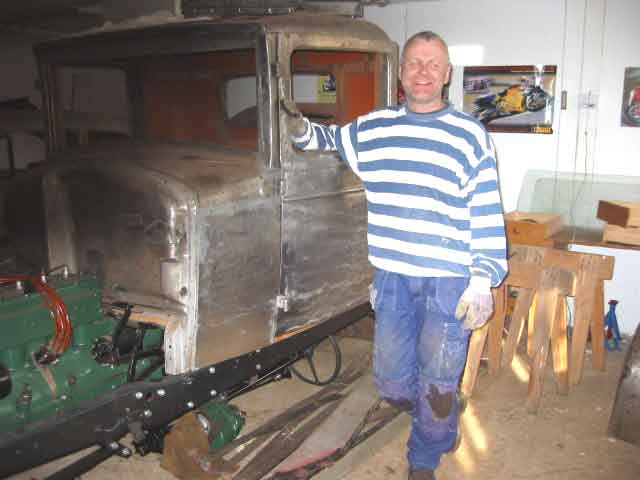
It is already November when I am writing this.
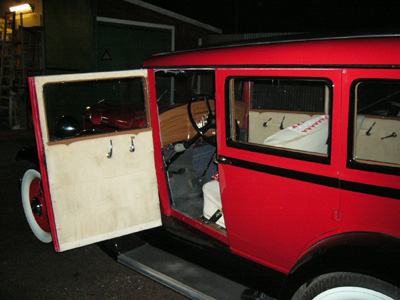
Under October I began within making new outside handles. I made a tool to press the handle skin, but after making some (many) testing I decided to take the old ones and make only one new. That was after many ,many hours of testing.
Made new glass settingchannels for all windows. Fitted the front window with all mechanisms. That one is ready for paint, rubber and glass.
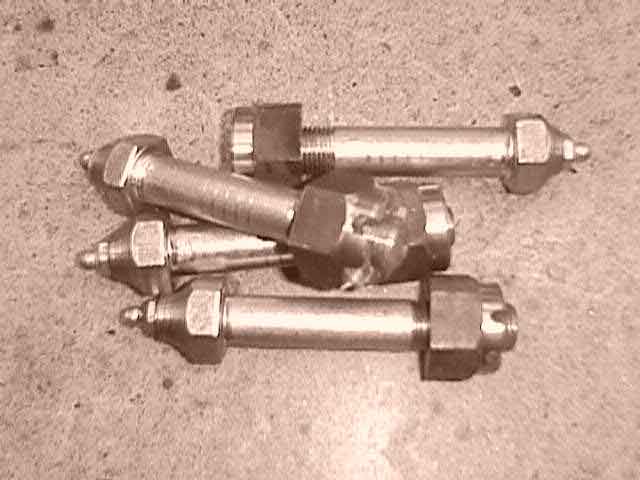
Delivered the front axel to Sören so he could help with the the spindles, bolts and bushings. The bearings has arrived.
Mounted the front springs with there shackles in the frame.
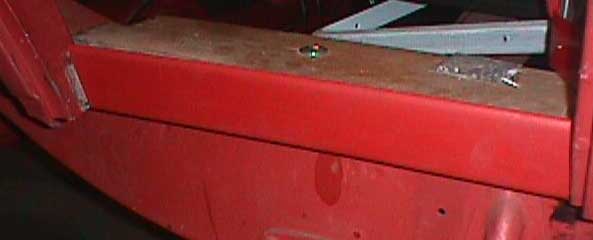
Thefloor in the rear under the seat has been mounted and welded in place and finally got an layer of paint over it.
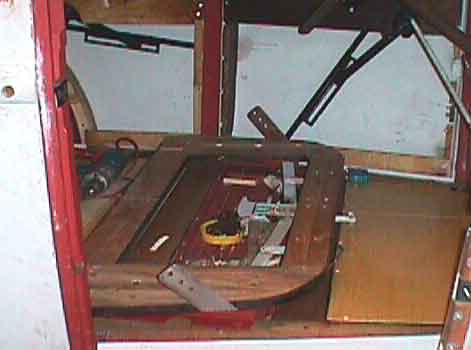
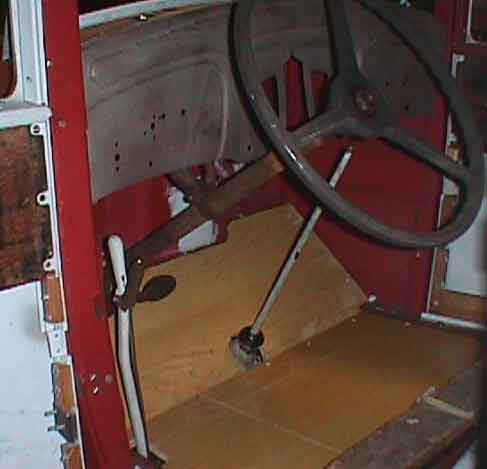
The wooden floor in the rear and thetoe boards is just what I being working with now.When getting it fit proper I also fitted the steering column and the flywheel house with pedals to see how it would work with the toe board.In the same time I also working with thefront seat and the mechanisms that moves the seat .Sandblasting, painting fitting and threading the holes.
I shall say -Thank You to Mike Barbour who is helping me with measures for the front seat and the rear bumper. The last one is handed over to on helping hand who would bend and curve the irons.
The radiator shell and the head lamps is shipped from US to Sweden and would perhaps arrive November or December.
floorrear
frontseat
frontspring

frontwin
hand1

hand2
toeboard
window
Hi everybody that is enjoying my job on this project. I hope that you not have been disappointed when visiting this site and seen that I have not written anything during July.
When Kjell visited me in May he took some photos of me and my car. He also took a trip to Sören and looked on hiscar.
There has been many mails to WOKR members trying to get information regarding the front axel. I have also got some help from everyone that answered. That ha give me a solution to the front axel adventure .I have disabled the axel into some parts that would got to be sandblasted and the parts that I have cleaned myself.
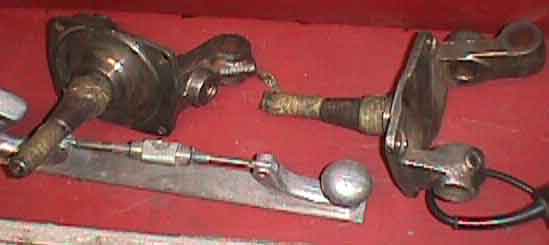
All the hydraulic shock eliminators has been cleaned and is ready for new oil and paint. The transmission mounted but there is one part missing. The flywheel house cover with axel machined and pedals with new made bushings. All has been cleaned and ready for paint.
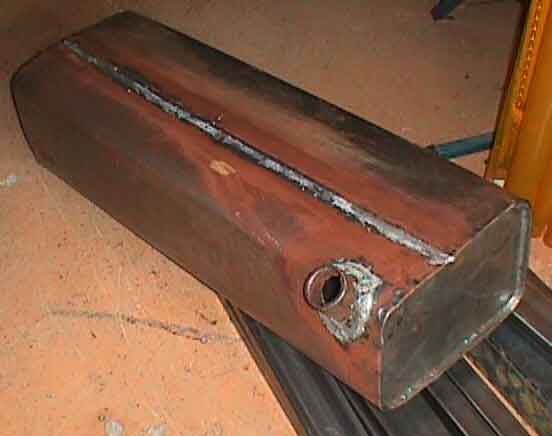
The front window is dismounted in all it parts remounted ready for paint and glass. The petrol tank is in progress with a helping hand from a workshop and then I made the sides and mounted the tank filler neck .The gas gauge is not yet installed. The rear trunk luggage rack is fitted in place When working with the rack I discovered that the rear bumper is missing anyone that have measures

clutch
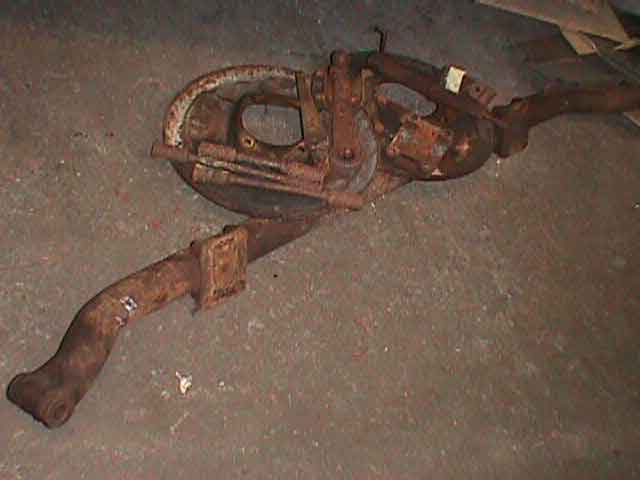
frontaxel1
frontaxel2
gastank1
gearbox3
jag
soren

paketh
shockabs
kjell
The left rear fender is more welding done and I hope also the last of welding on that fender. The bolts has been set in the correct place and the fitting is now correct to the body.
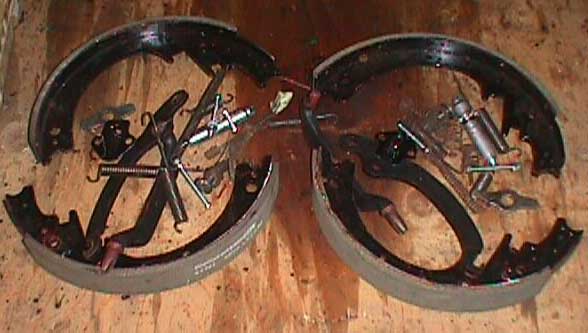
Mounted the brakes on the rear axel. There is only to fit the brake cables and calibrate the brakes.
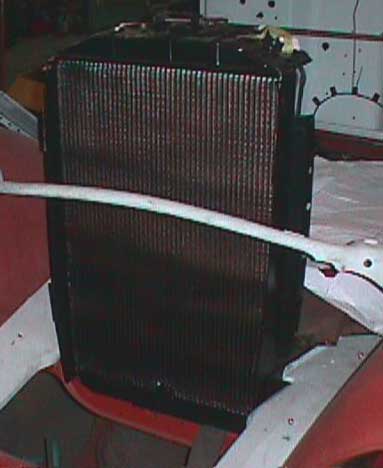
Greg had sent me a mail and said that he has one radiator shell that needs some repair work. I told him that was ok for me and that I was interested of buying it.There is only to find a cheap way of sending it to me.
The radiator is ready and I have mounted it in place to see how it fits..
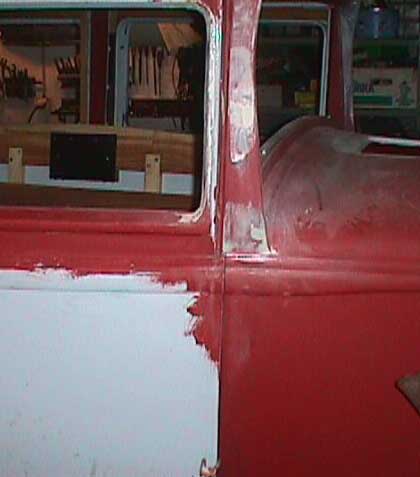
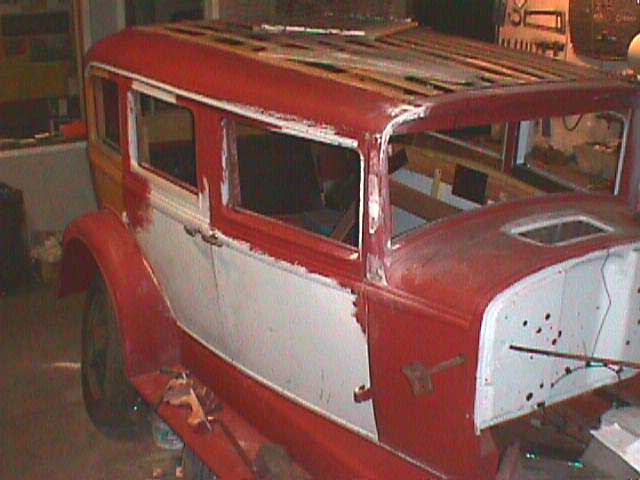
The rest of the time I have been adjusting the door and roof on the right side ,welding,sanding and plastic filling so it is nearly ready for painting!!
I am waiting for the engine.
frhsida
hoovsida
kyl
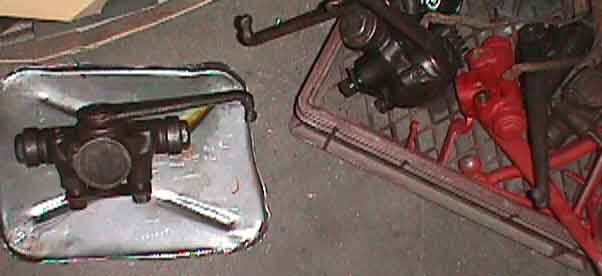
Since last month I have had an cold and was out of work enthusiasms some days. But never the less I have been working with the car. The springs in the rear is mounted with grease between the leafs.
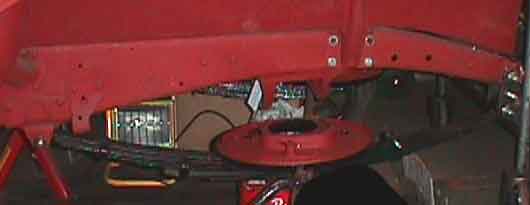
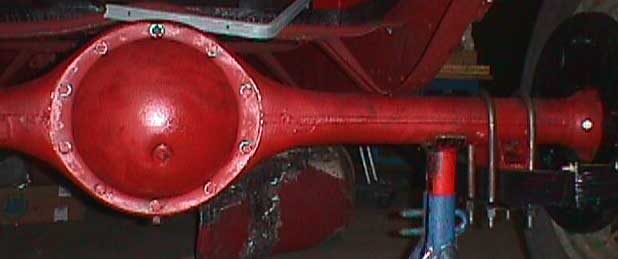
The rear axel is ready.
After some trouble with the outer bearings and that I have tried to improve the tighten .The rear cover had become a new cork sealing. The differential bearings is secured with steel wire-like before. There is new grease nipples. The brakes is not yet mounted and brakes linings is new and has been glued to the brake shoes. Thank you John for the photos !!!
The springs and the rear axel is mounted to the frame and the shackles is mounted with new bushings reamed both in the springs and the frame. The rear axel is filled with oil. When I tried to mount the U-bolts they where 30 mm to short. That was only to remount the tools for the press and making new threads to the bolts there went 4 hours!
When I fitted the rear fender the sill was not fitted correct I had to make a new one .
Total amount of time 1015 hours
brakes1
rearaxbeh
rearaxel7

rearri
sill1
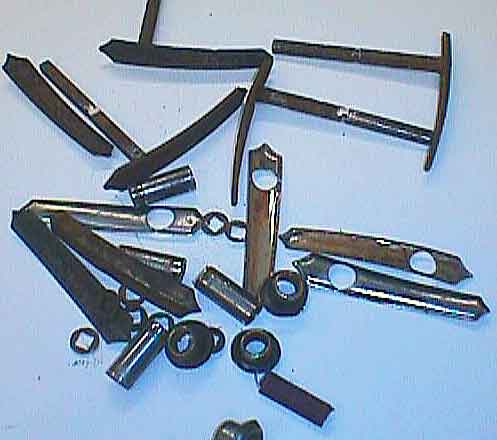
I have been made new spring shackles and switched the pin in the frame and the spring with bolts. The bolts has an hole in the center for the grease. The bolt in the front and rear has also been made new. The shackles links is also new. The nuts has also been made too fit the shackles and bolts. On the bolts has an grease nipple been mounted.
This is not perhaps the original style and all the threads has been made with UNF but it looks “old” or?
The door handles I just now thinking of to bought new ones that is similar and not make new ones.
The radiator shell is still missing but I am waiting for that one perhaps turns up.
Total amount of time 985 hours so far…..

shackles

shacklesbolts
springbolts
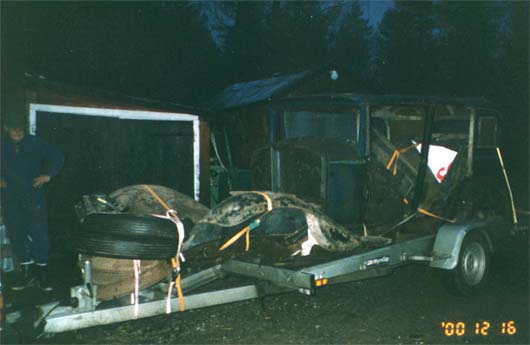
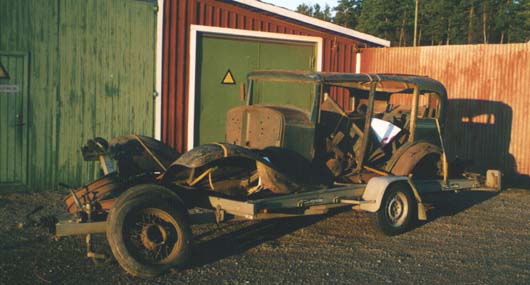
2000-12-15 – The expedition to Umeå started 3.00 PM by car and an empty trailer there is 840 km before I and my brother Lars is there. The first night was in Sundsvall where there around midnight!!
2000-12-16 – Up in the hour 6.45 AM got an breakfast was in Umeå at 11.00 PM and met Benn who is the Seller went to his house outside the town 30 km loaded the trailer it took five men 2 hours. Of hard running around and placing it all in the right place. See picture. Turning the hole equipage around pointing to the south and began the home trip around four a clock in the afternoon the darkness have already began for two hours ago!!! We slept in Gävle that night to get around 370 km left for the Sunday morning trip.
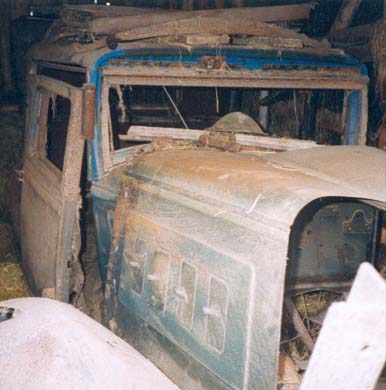
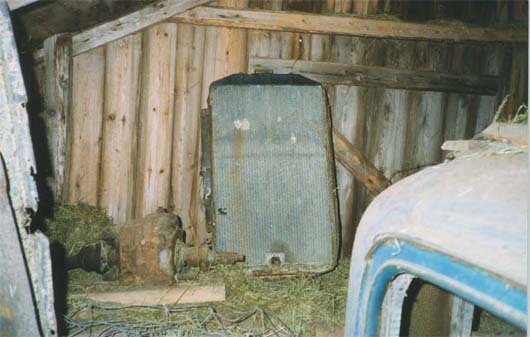
willyskaross
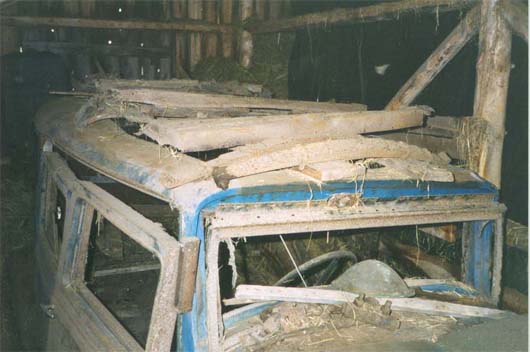
willyskaross1
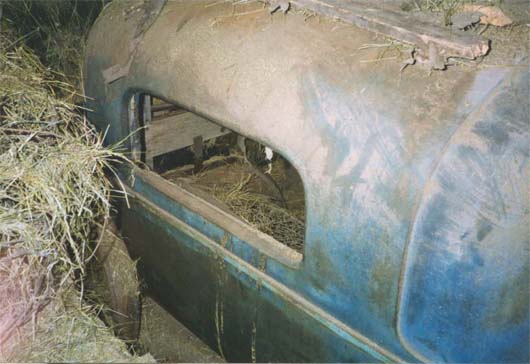
willyskaross2
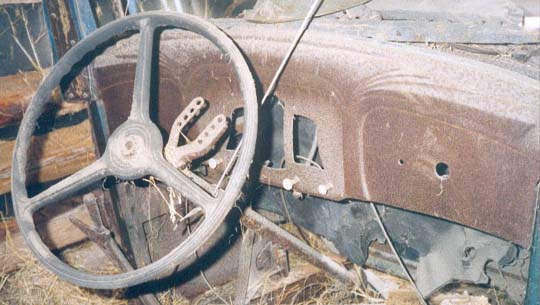
willysinstr
willysparts
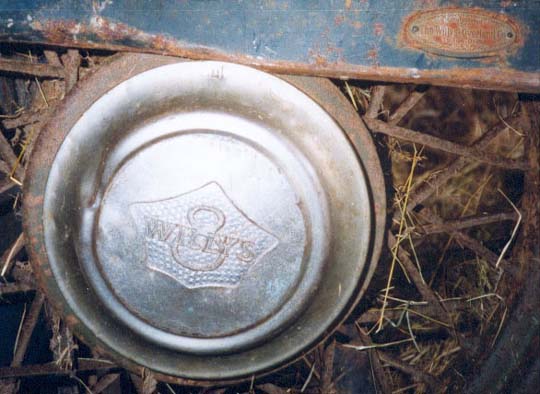
willyskapsel
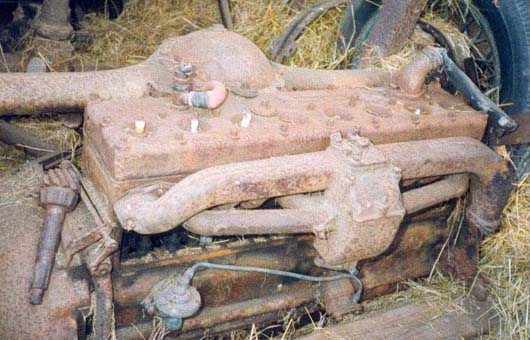
engine
2000-12-17 – At 1.30 PM we was in Mjölby again and began to unload the car and all the pieces! See picture. The whole trip would be 1900 km with all turning around in the Swedish winter landscape. This winter has not brought any snow yet!!
trip1
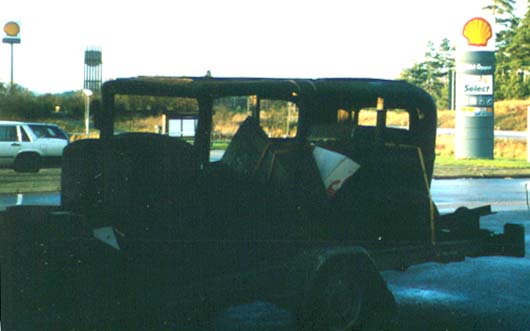
trip2
trip3
Sent a letter to Joe Luck and asked for drawings of the car.
2000-12-13 – I have phone to the seller of the Willys8 and bought the car.
2000-12-21 – Chuck Jeanblanc answered my mail he help me with important information about the front-axel.
2000-12-23 – Sent mail to WOKR and PaulYong. He helped me to get along and gave me addresses to other members how would lend me a helping hand.
willyskaross
willyskaross1
willyskaross2
willysinstr
willysparts
willyskapsel
engine