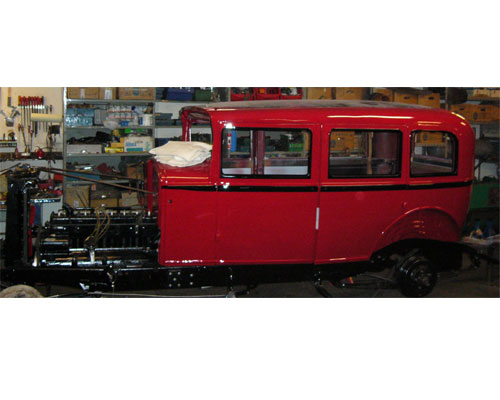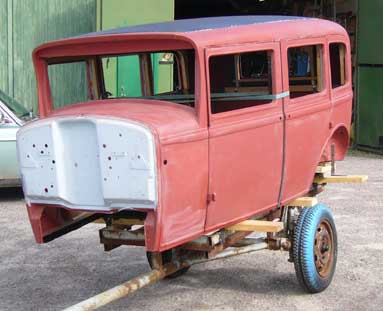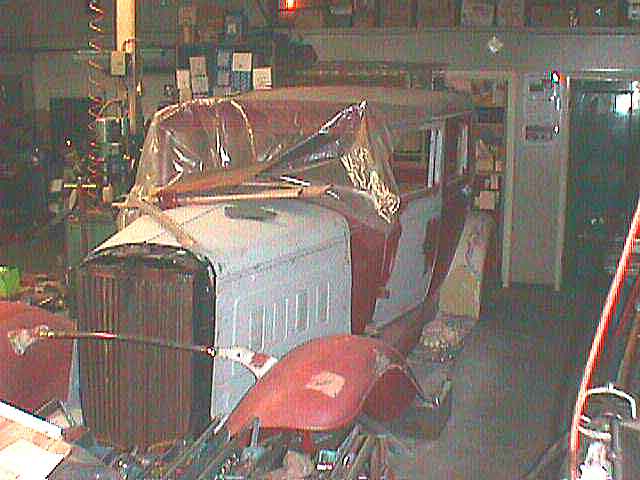
Even if the most of the big restoration work is done there is still much to improve.
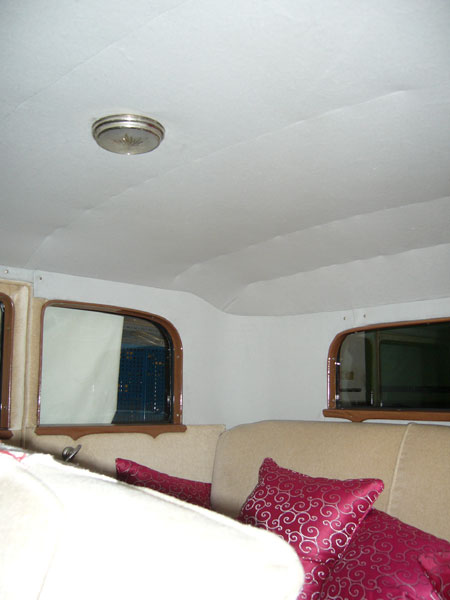
I have mounted a roof lamp which is controlled from the dash.
The ignition coil had to bee changed because it was burned. A new one was bought.
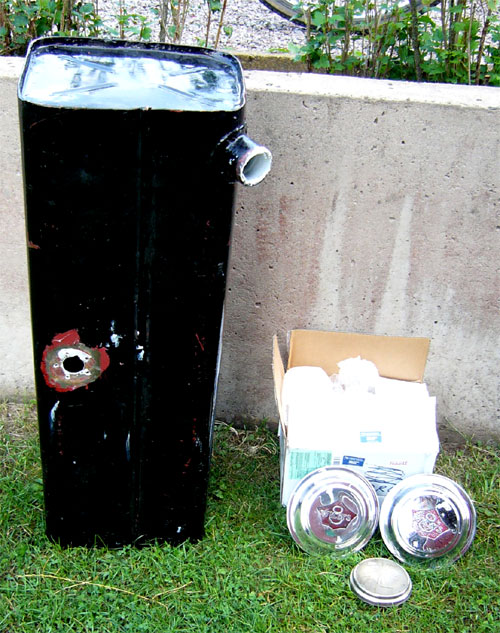
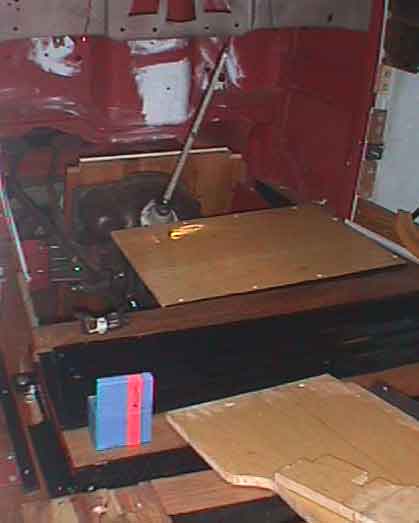
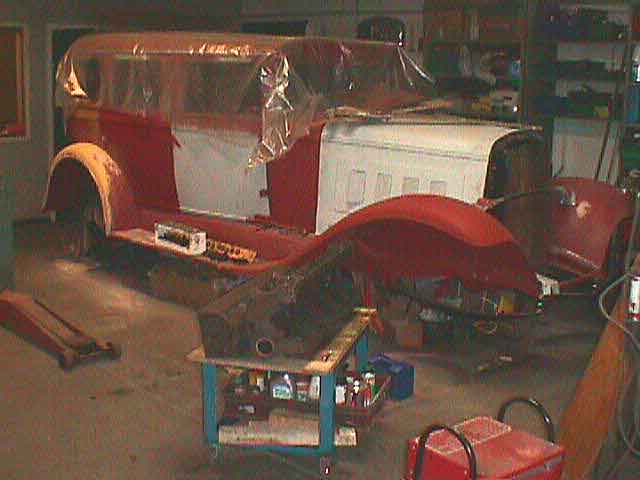
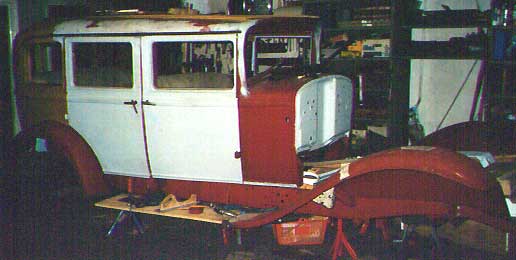
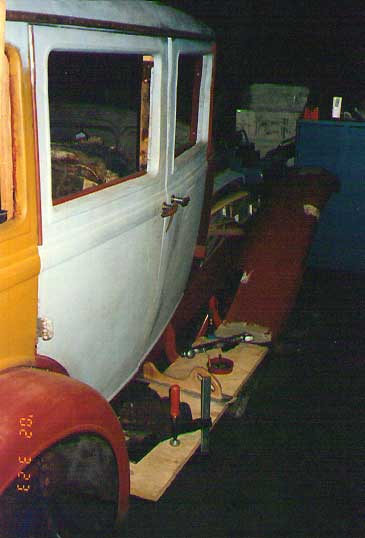
The trunk in the rear is in place and there is still some clothing and a couple of boxes in the bottom that I shall make for tools and service.
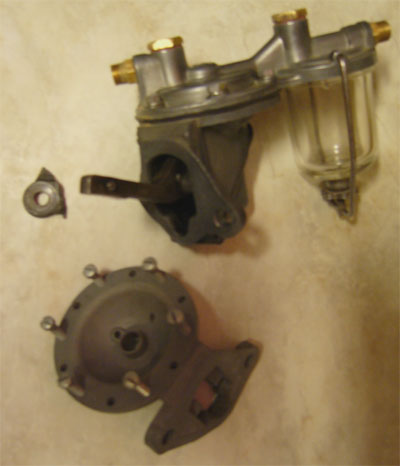
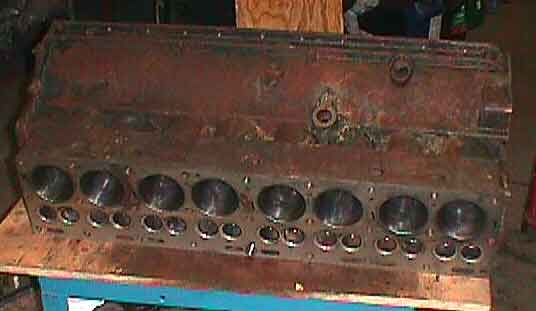
The carburetor problem is still much thinking about.I have got a Carter BB1 with accelerator pump there is some of the internal service to be done some of it is stuck!
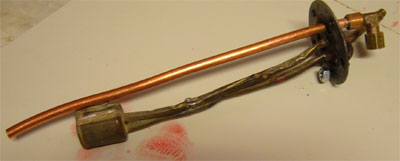
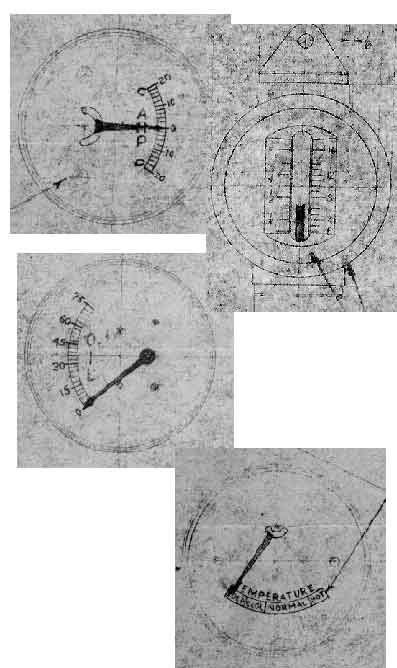
The water temperature gauge is not showing correct temperature so I have made an experiment with one IC circuit that helps to show the correct temperature. Next step is to dismount the temperature sensor and make a test bench for that and the gauge and see what that gives me.
I am thinking of making two spare tire covers in steel….
Beside all that I have driven the car around and …..just enjoying it.
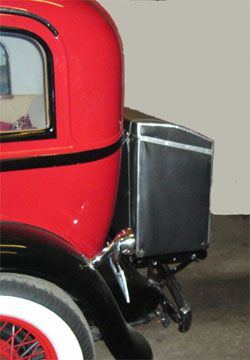
reartrunk1
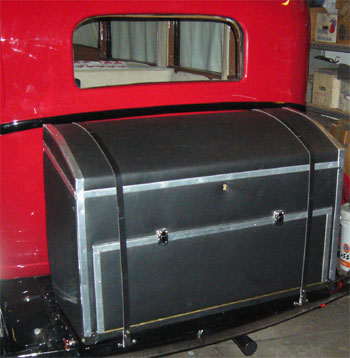
reartrunk
rooflamp

IC