The most of the time since July has been driving around with friends and weddings.
During these trips I have trouble with the fuel.
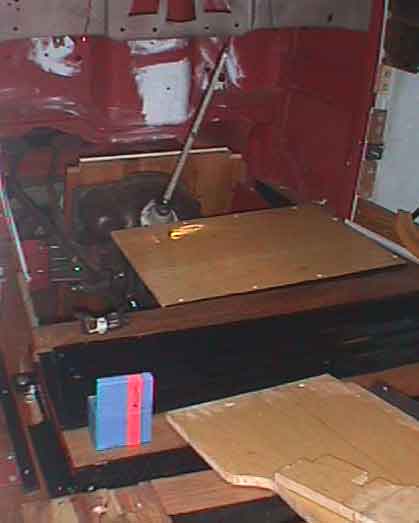
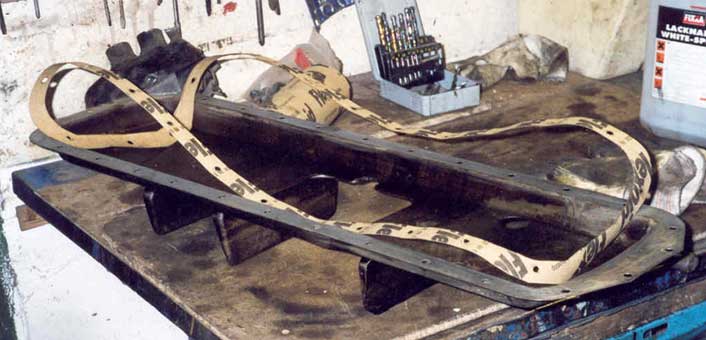
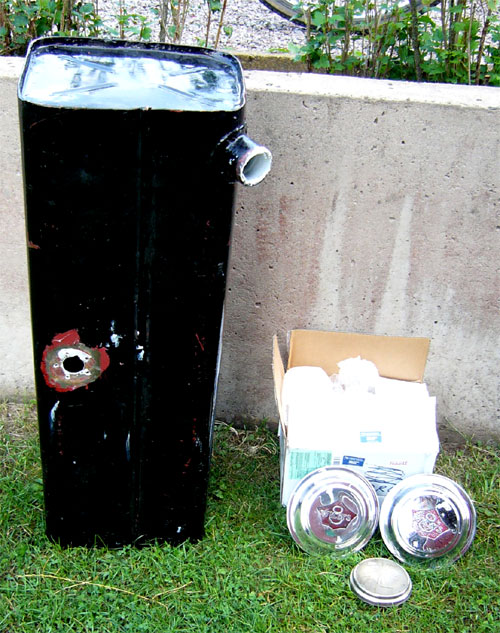
When investigating that I found out that the gas tank was much dirt in most rust I thought.
I empty the tank and dismounted, cleaned with heat water and high pressure after that I
Poured in acid and washed with water. After drying it was time to pour in a can of Hirsch Tank Sealer
A couple of times and let that dry for three days. Mounting it all in place with a small filter in the bottom also. I have also welded a bottom screw for empty the tank in the future.
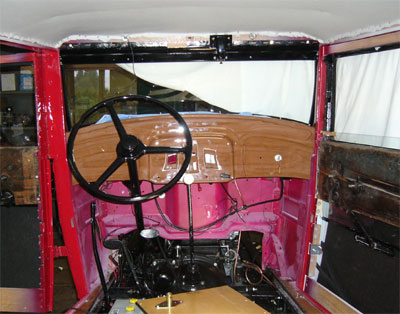
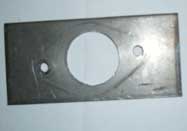
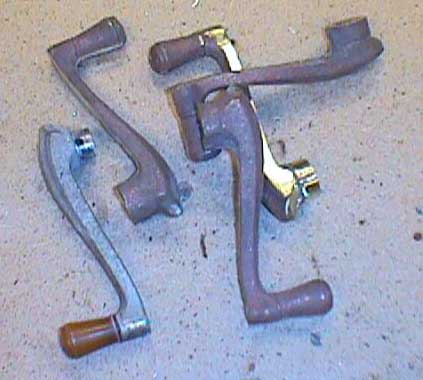
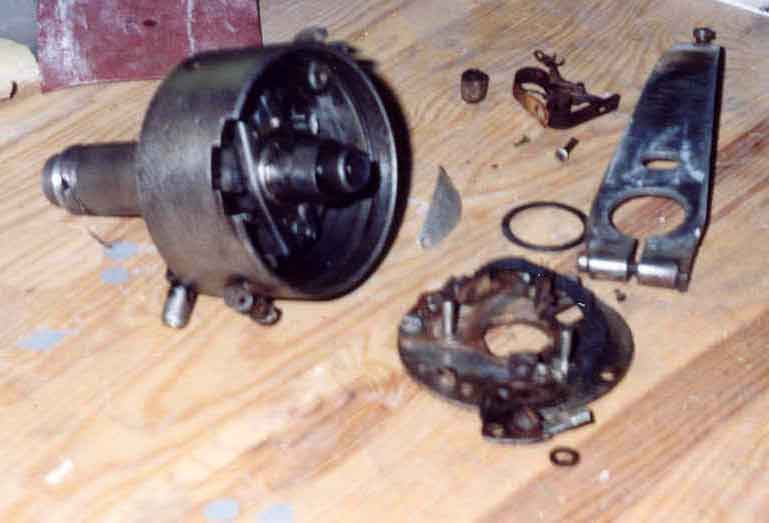
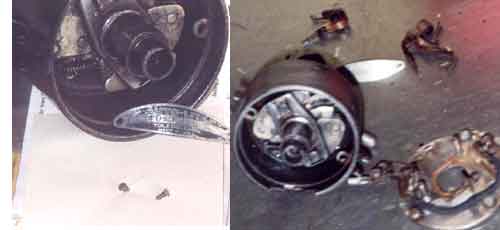
Then I tried to start I was forced to pump the gas pump by hand when mounting it all in place again I succeed to crack one ear that holds the pump. After some days I managed to by a NOS part.
I also switch the cork in the glass bowl after that I discovered that was also leaking air.
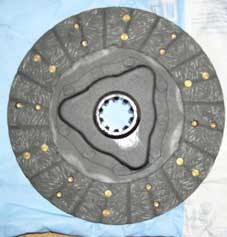
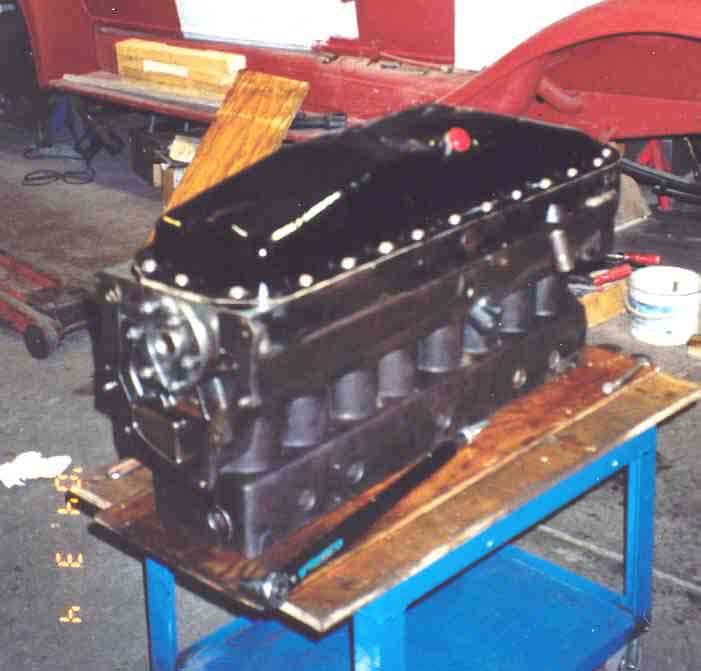
Now is the car running again? When driving around it I got a scrambling which disappeared when depressing the clutch. I dismounted the gearbox and the clutch and discovered that the nuts had loosen it was only to draw them tight again and mount all back in place.
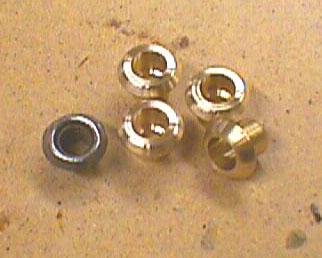
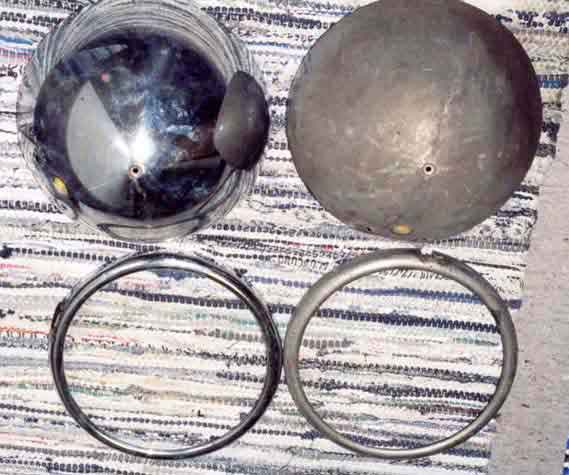
The good news is that Ray Pfiorini sold two of his hubcaps for Willys8 to me .Thank You Ray.
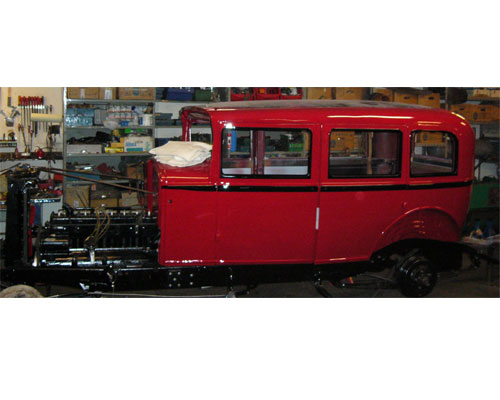
The other big news is that I have sold my Whippet 1928.
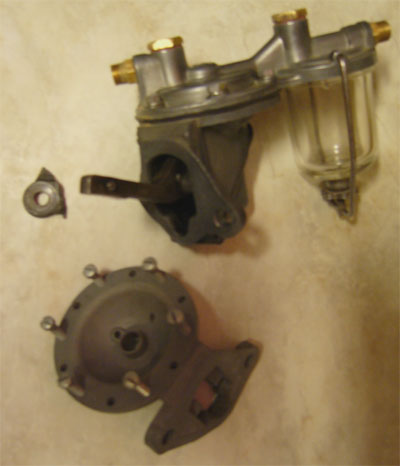
fuelpump
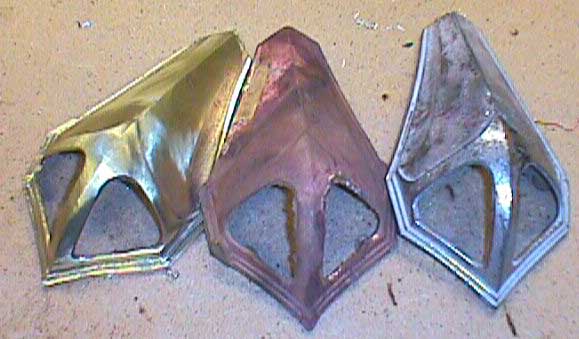
fuelhub
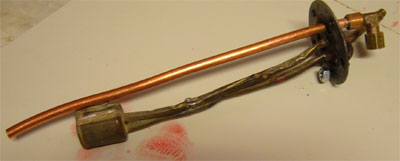
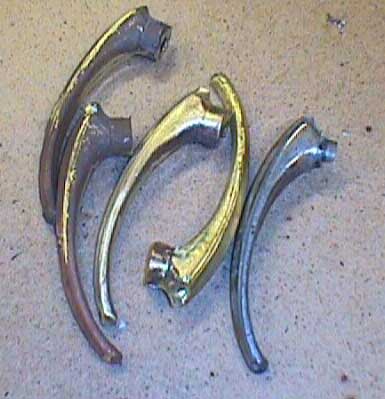
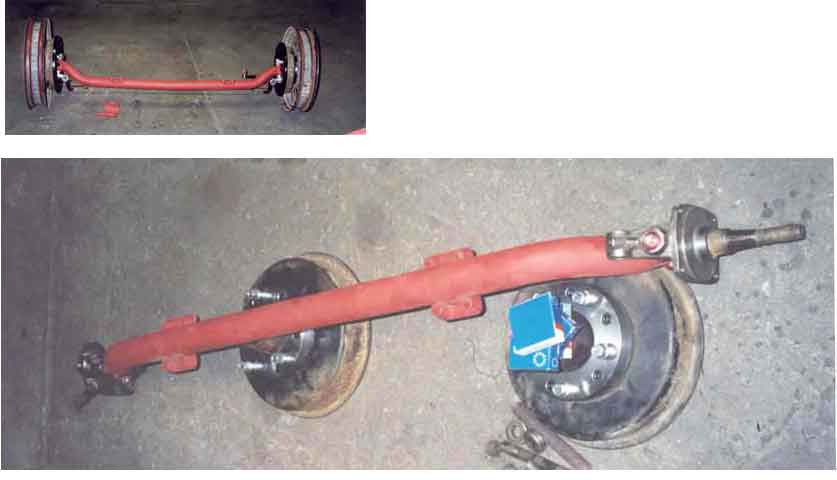
fuelarm