Just now the project is going with high speed.
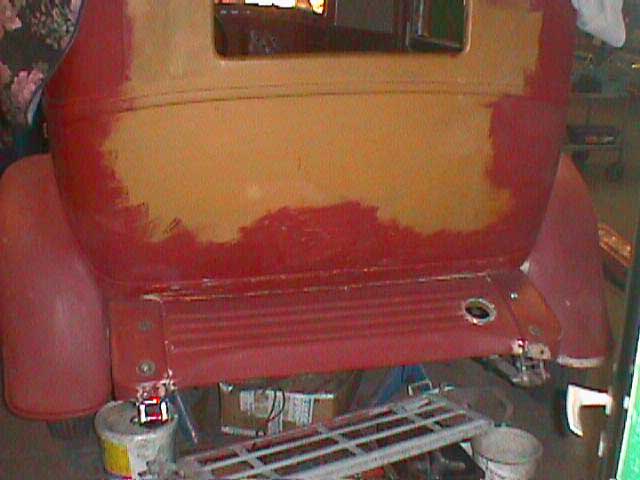
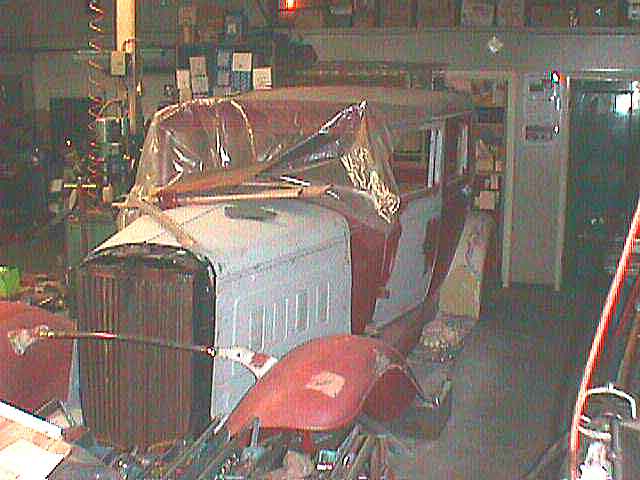
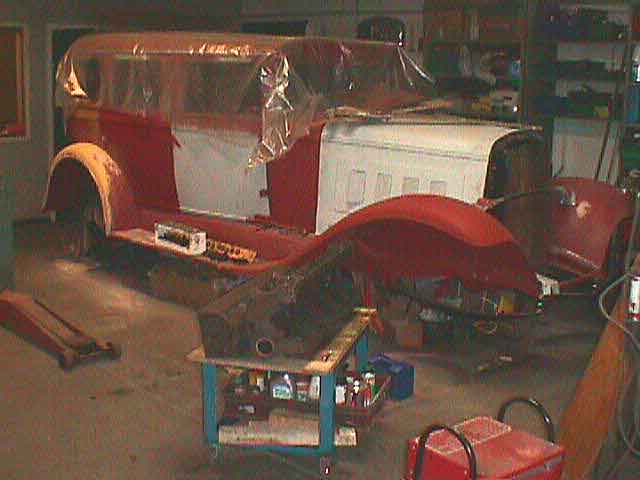
The body has been removed from the frame. The body is put on a wagon that is drawn to the paint shop. The frame is painted black. Some of wood interior has been removed.
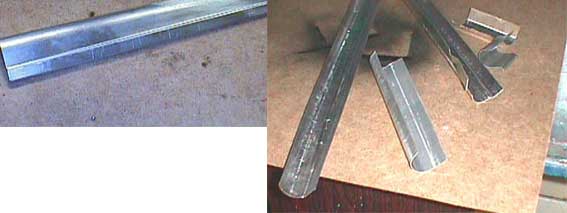
The brake cables is tested and the wire has been pressed in the ends. The front cables is mounted in place.The front brakes is ready.
The wood graining is finished and the parts is ready to get a layer of varnish to get a god surface before I mount it in the car.
The rear wheels is new tubes mounted so I could use the old tires when working on the frame.
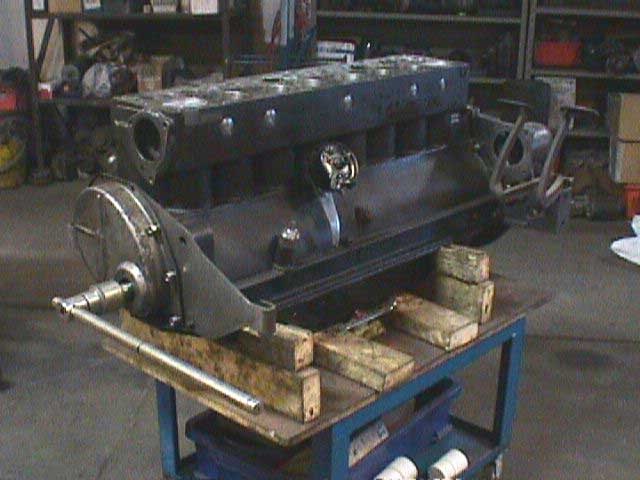
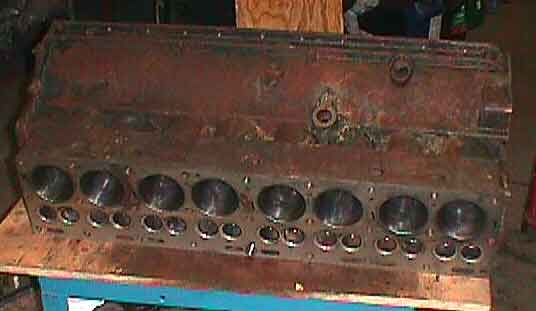
The engine is mounted in the frame so is also the clutch and the gearbox. I have made new rubber mountings.
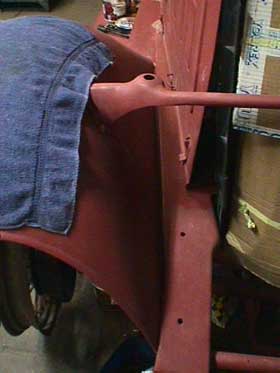
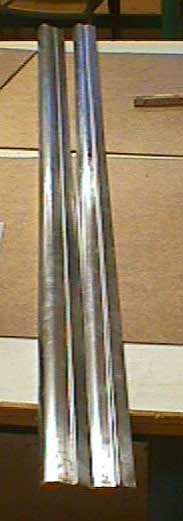
The steering is mounted to the front axel.
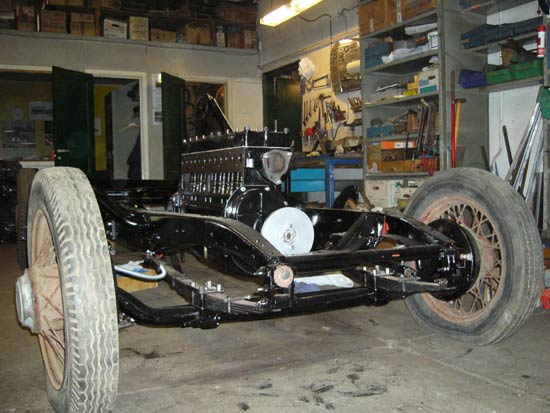
engine10
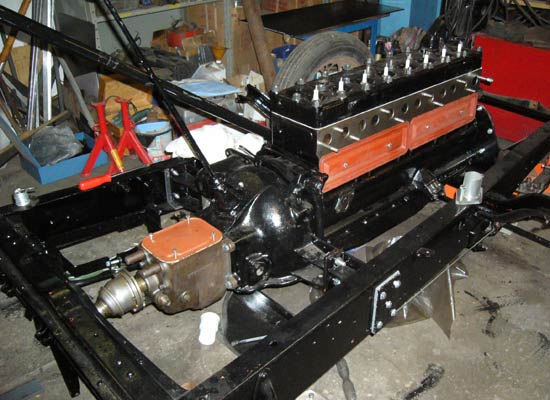
engine15
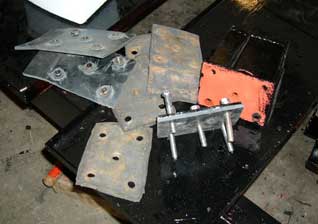
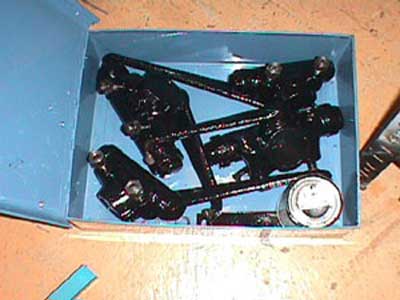
enginerubber
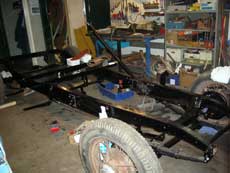
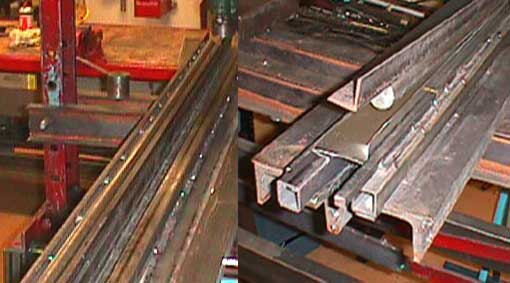
framepaint
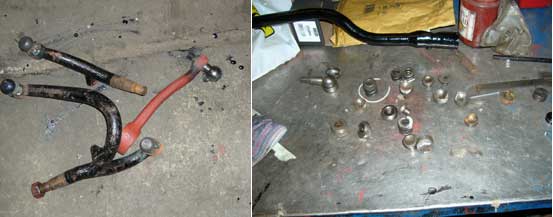
frontste