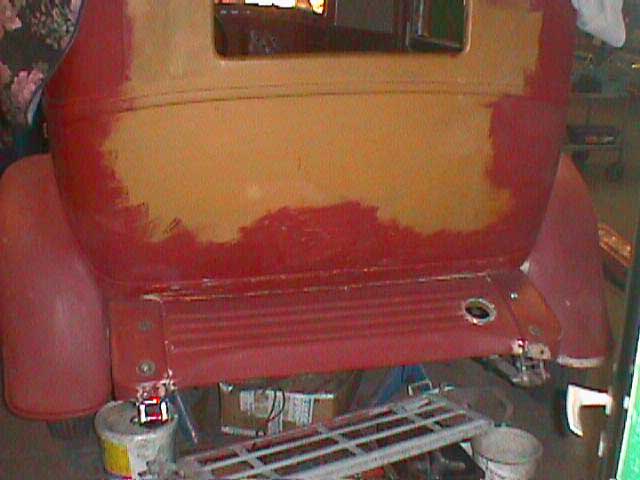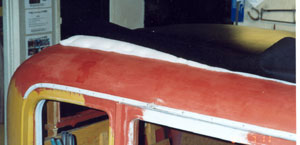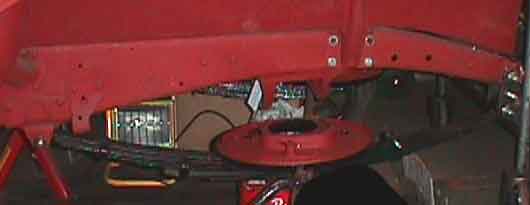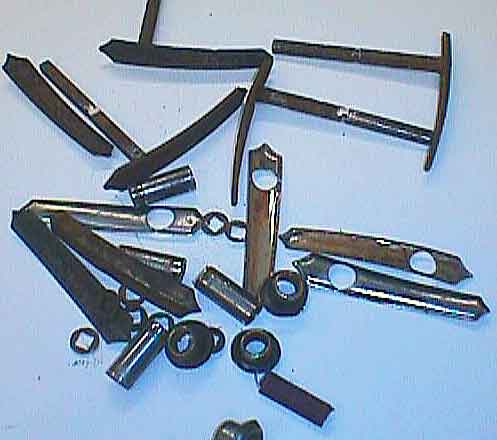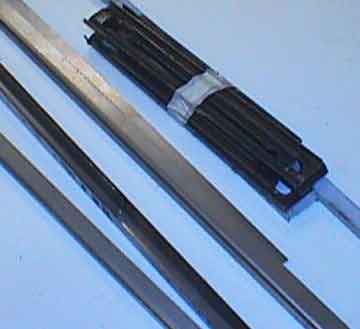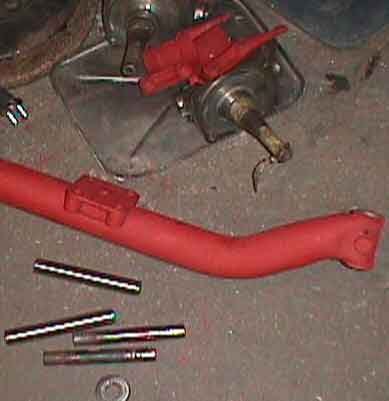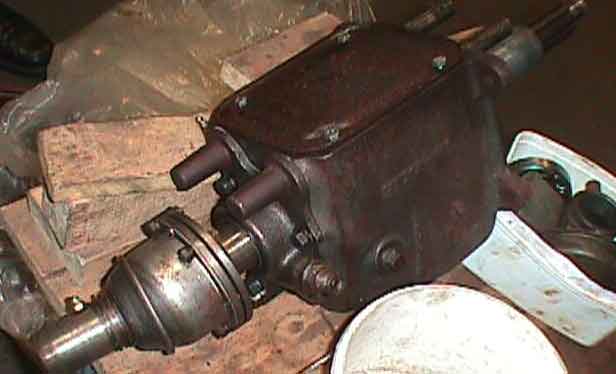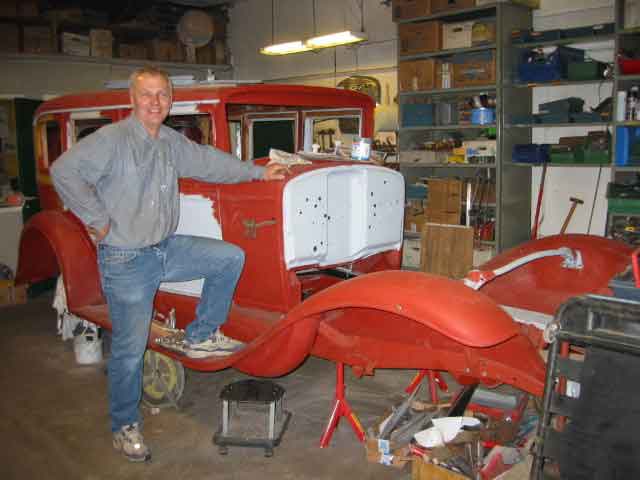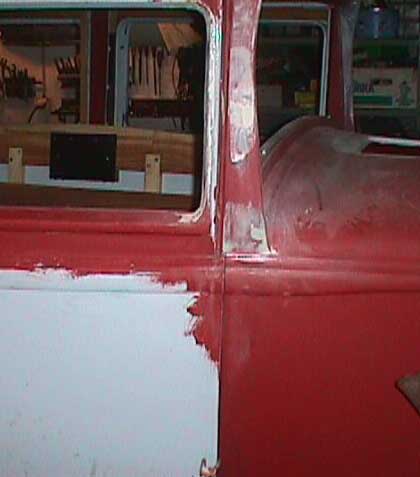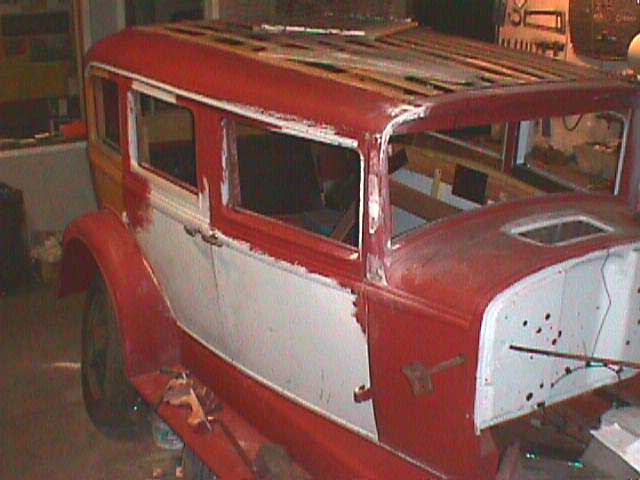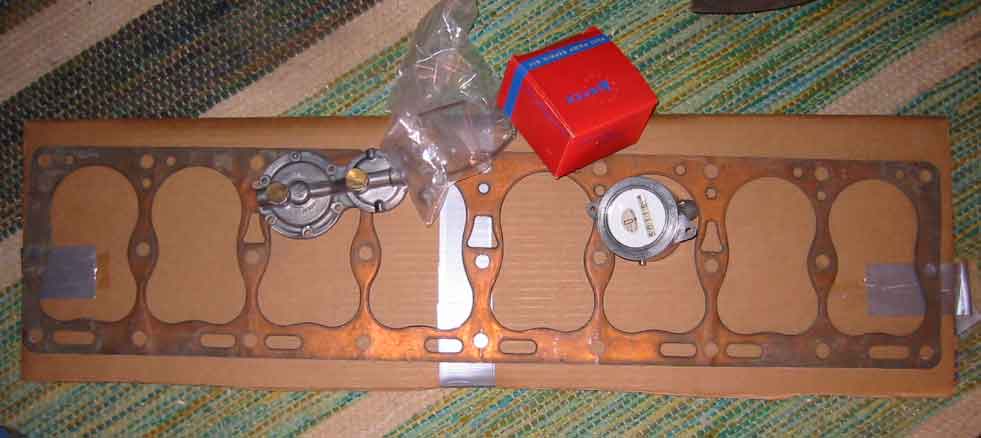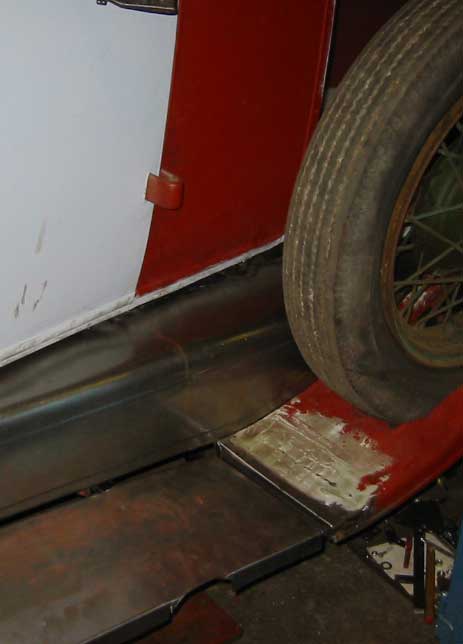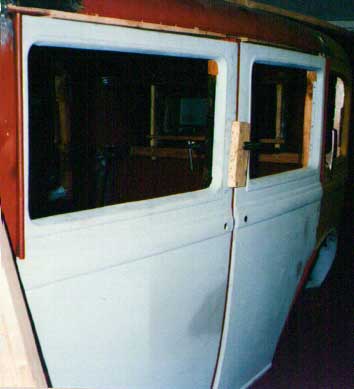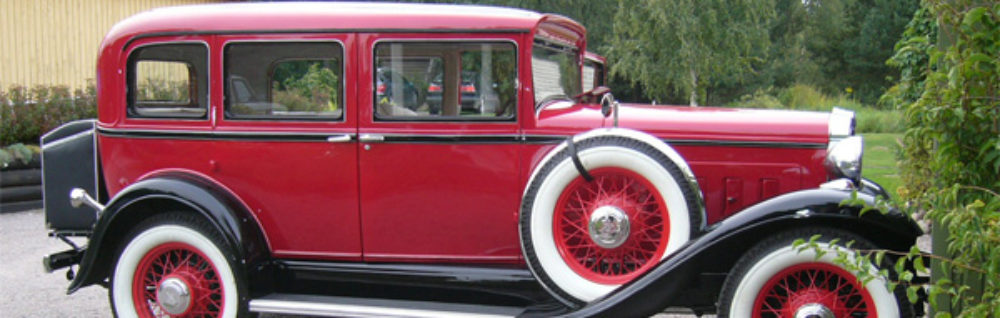
The most of the frame is ready with mounting the fuel line from the gas tank which also is mounted. The body is ready from the paint shop. The mounting of the front window with the rubber around .The tube for the ignition cables was made and mounted. The many small items that has been to the chrome shop has arrived.
I have worked both day and evening trying to get ready to 8th August to register and get number plates for my older sons wedding the 27 August!!!!!
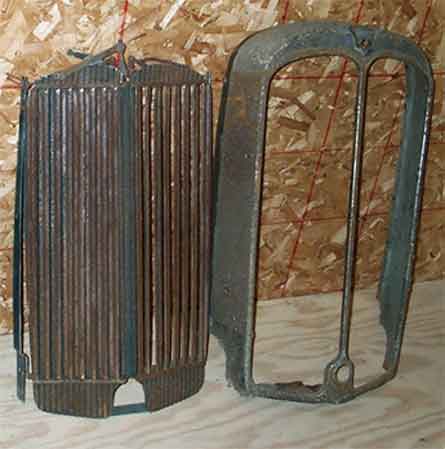
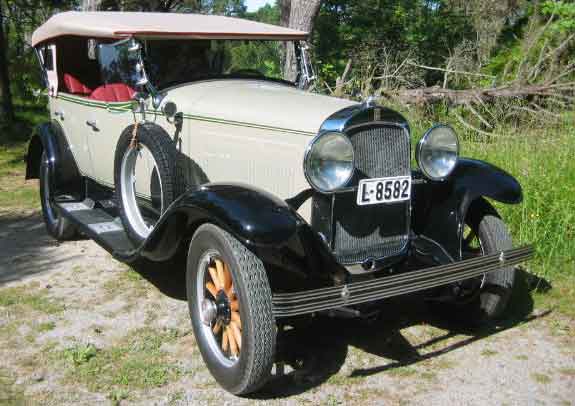
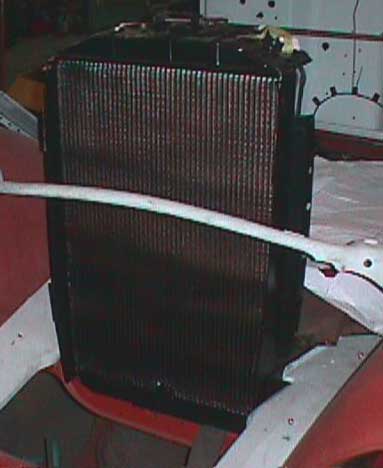
The last days I have mounted the most of the wiring and connected it all according to the electrical scheme. The radiator and the shell is also mounted in place
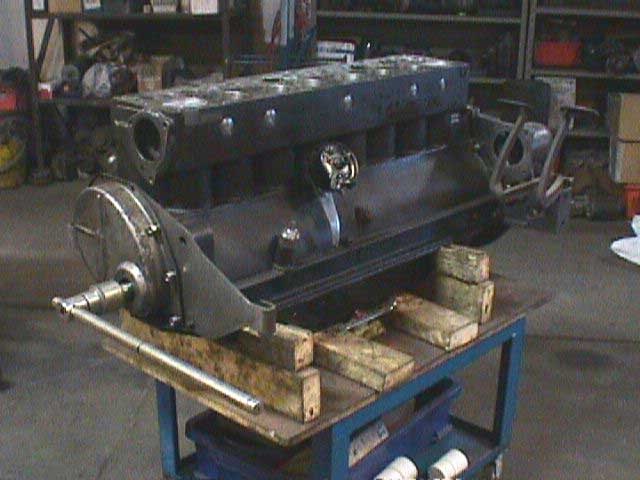
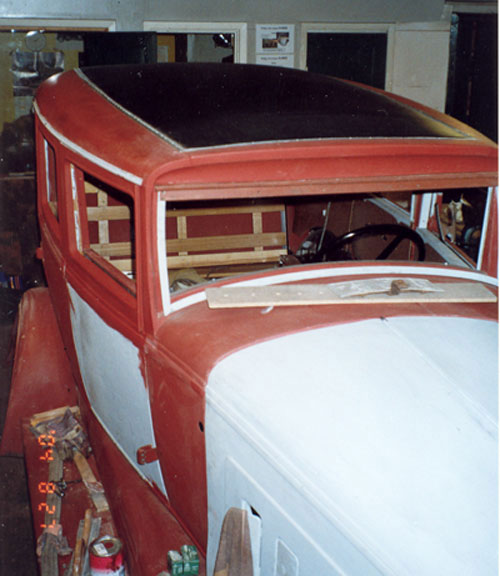
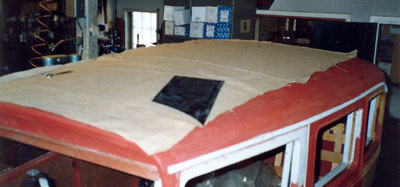
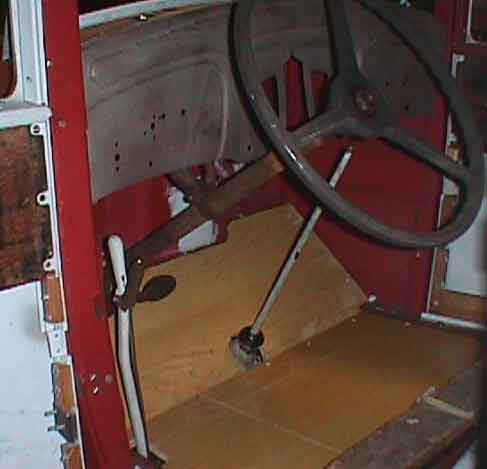
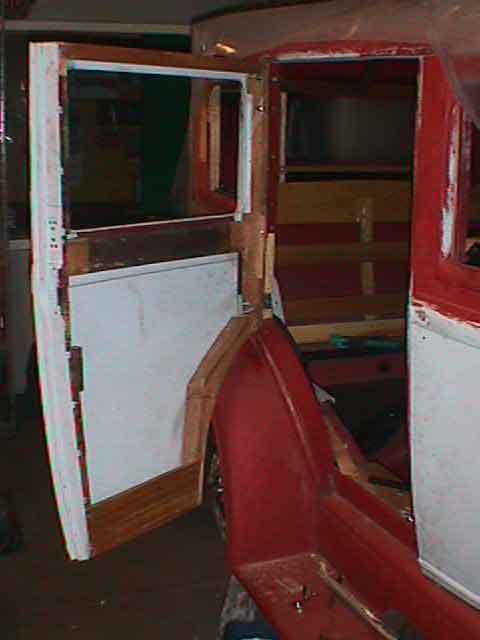
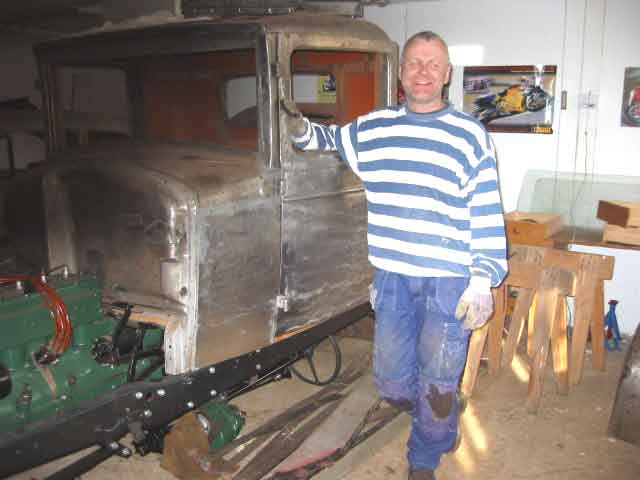
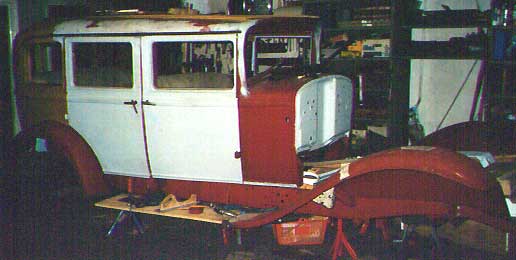
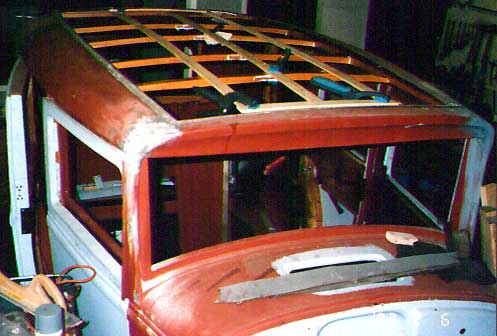
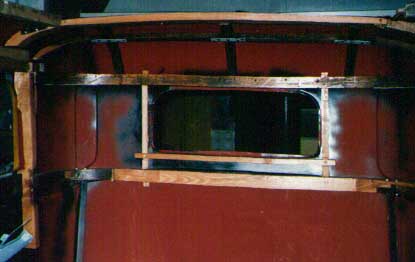
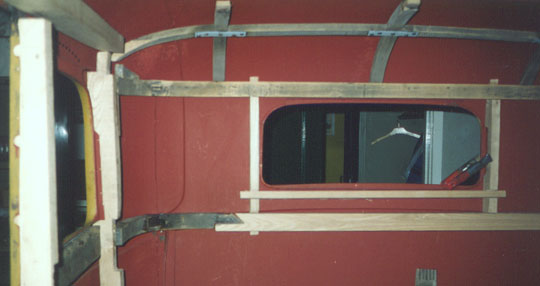
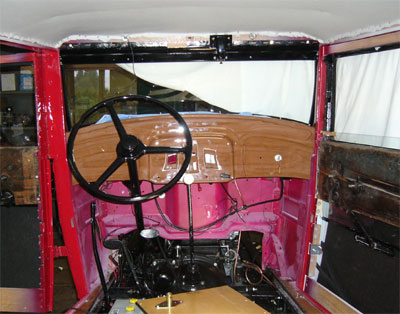
I have also got the inner roof done .Mounted the dashboard and some of the instruments. The engine has been running for total about 30 minutes and so it happens -the rear frost plug went out and all the water went out!!!! Much work!!!
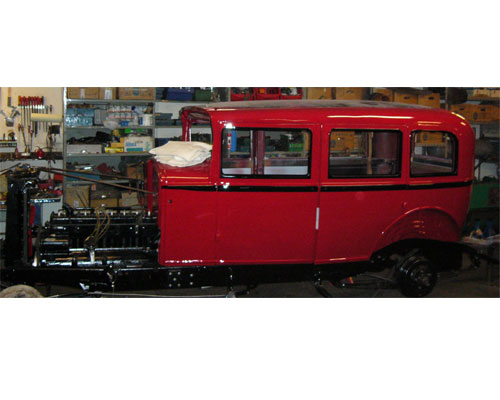
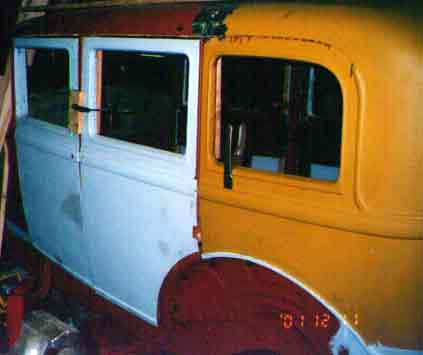
bodypaint

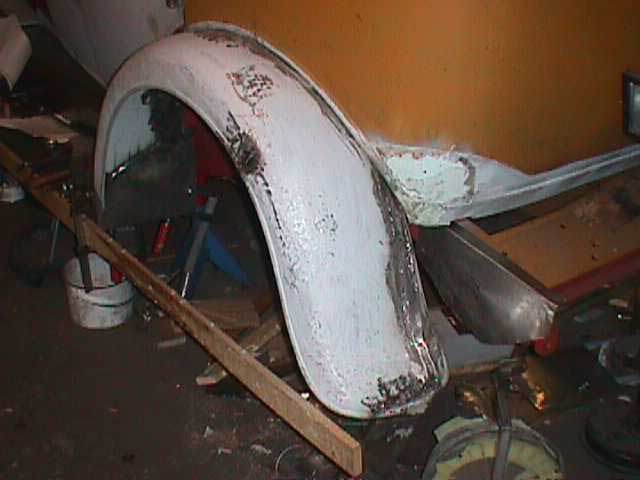
front
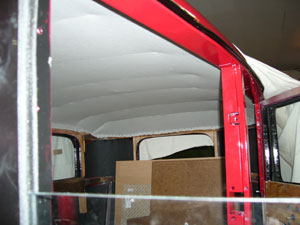
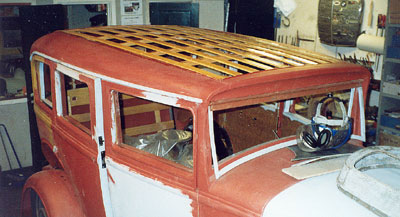
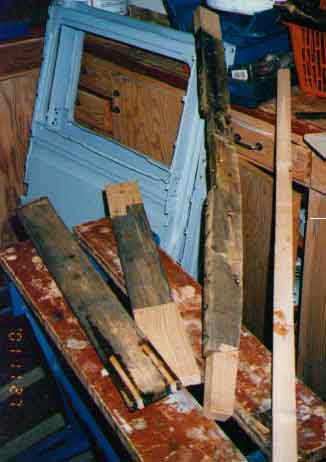
innerroof
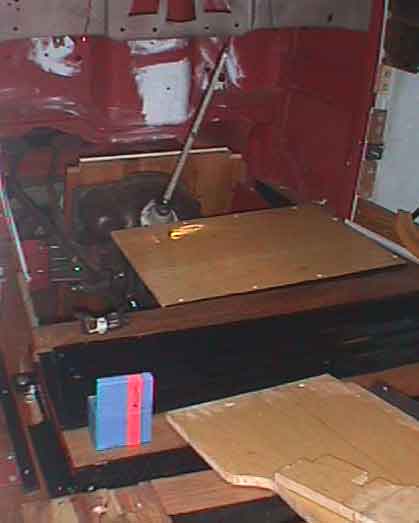
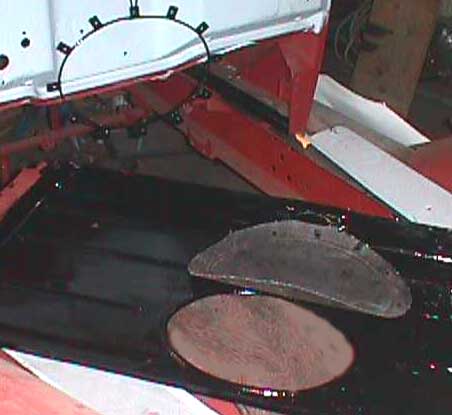
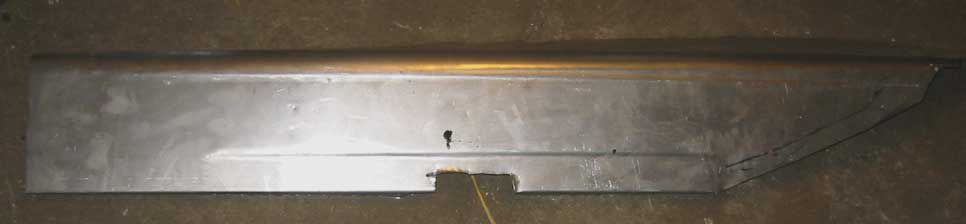
floorfront
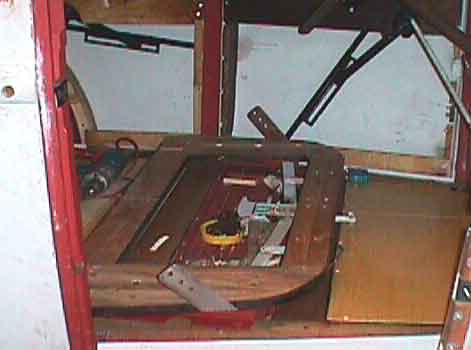
dash

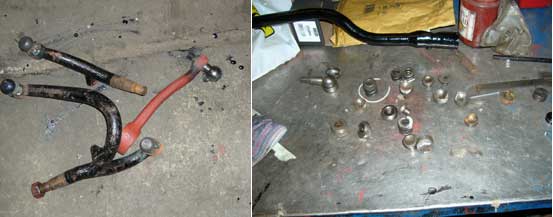
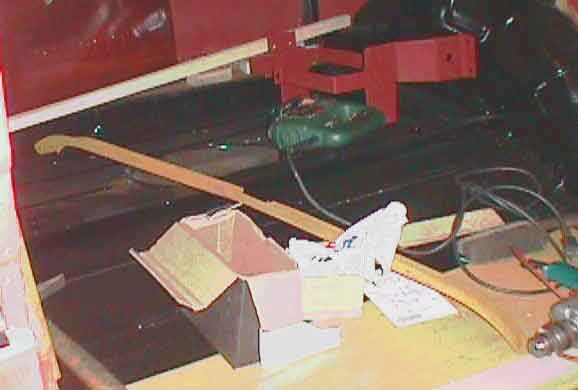
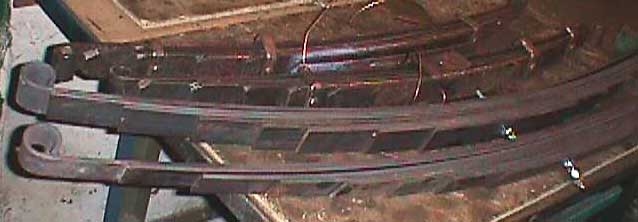
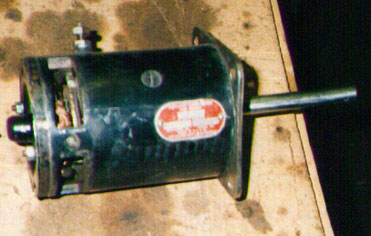
chromeparts