Chrome and minor jobs

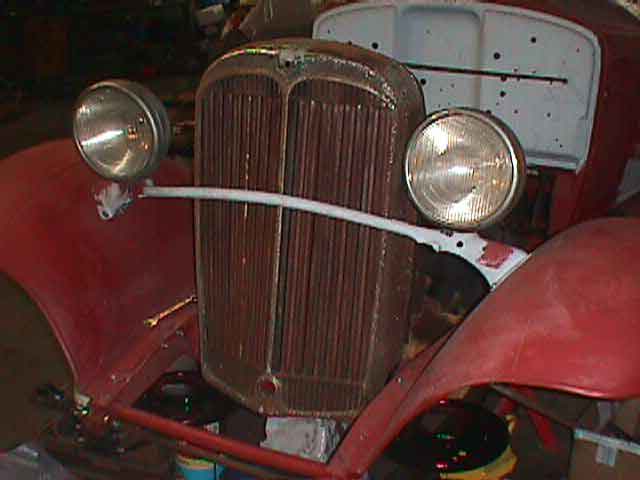
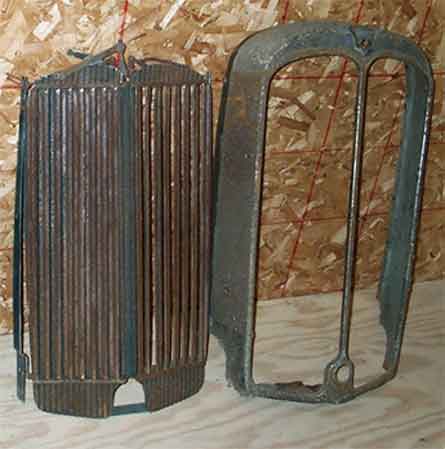
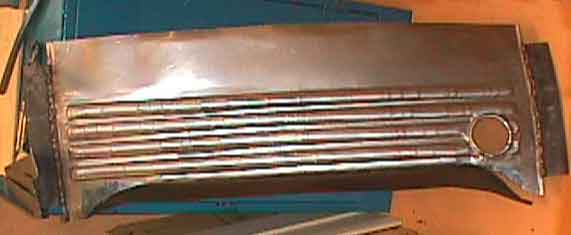
This month I have been working with many small things and delivered front bumper, radiator shell, head lamps and front seat irons to chroming. I tried to repair the shell but it seems to hard for me to do that. I needed help and it looks like an experience hand would help me.
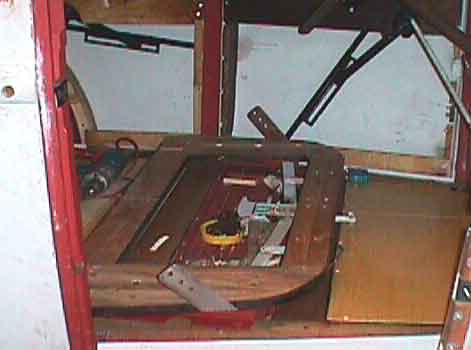
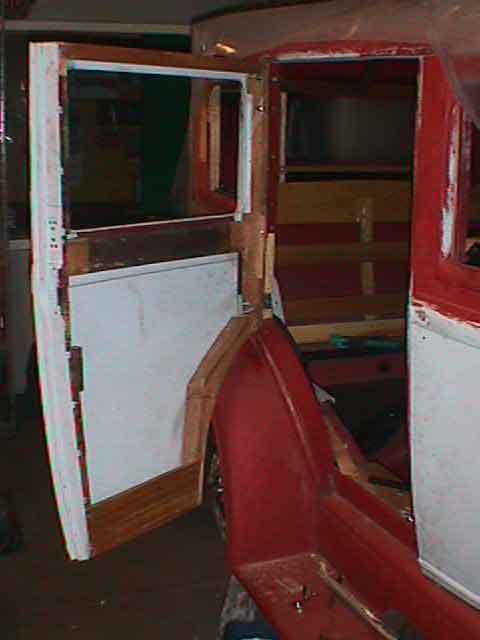
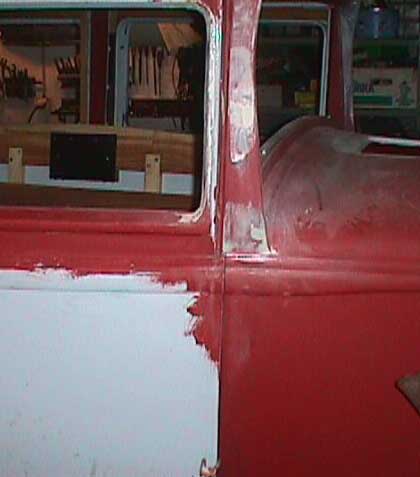
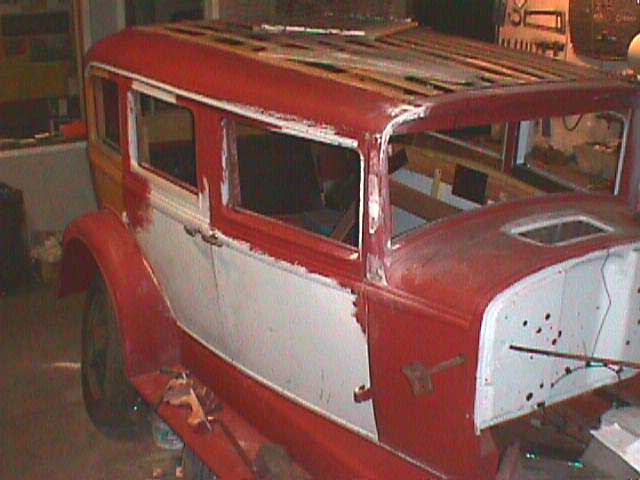
Adjusted the right rear door so it would be smooth and nice to close and fit proper in the body line. When doing that I also tries to make a good finish at the door sides and all the surfaces that would be painted later. Even the left door was some job on like in the right side.
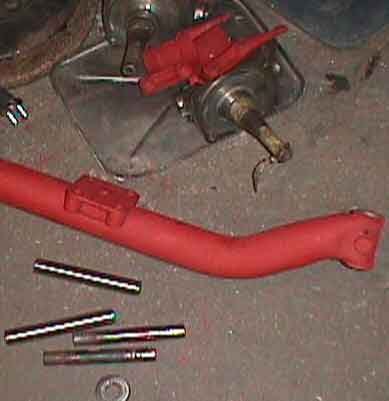
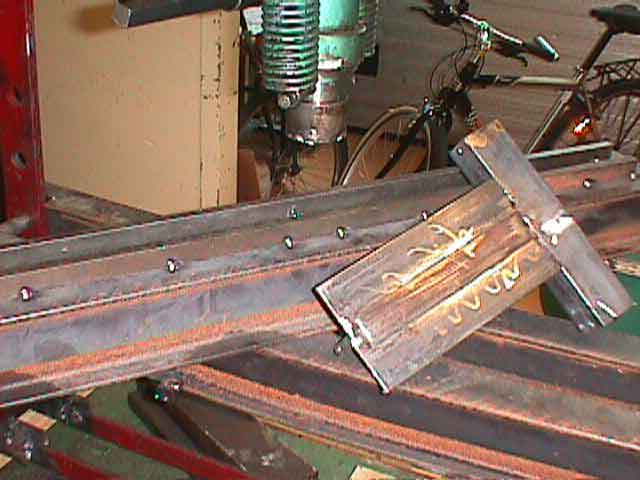
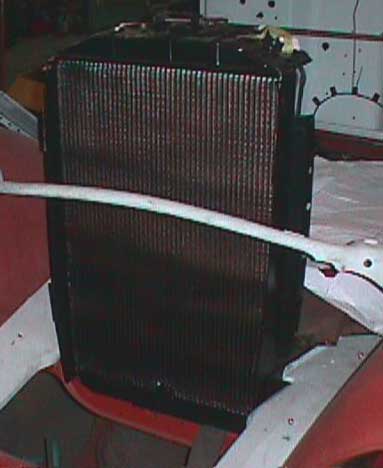
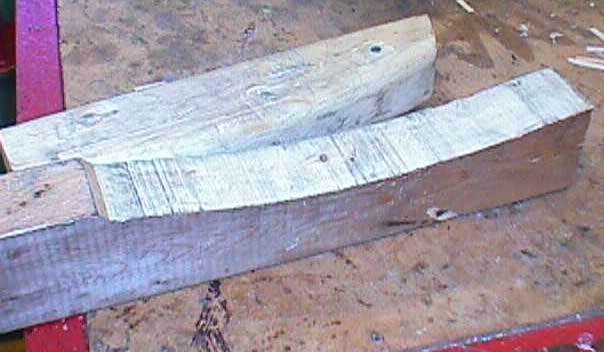
The front bar between the front fenders has been changed because so the radiator shell would fit better.
I visited the shop that helps me with the drilling and changing of one cylinder he would perhaps finish it under January some time????
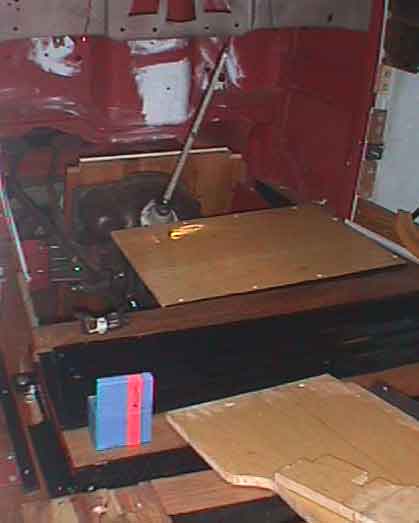
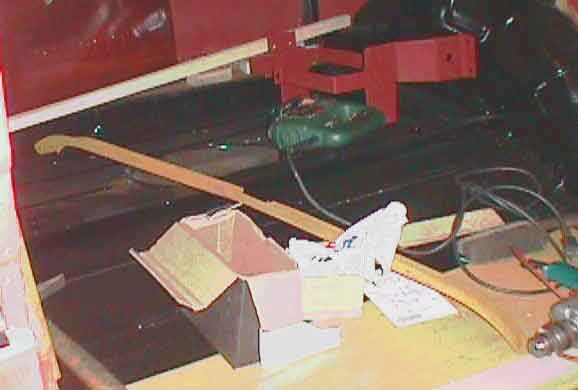
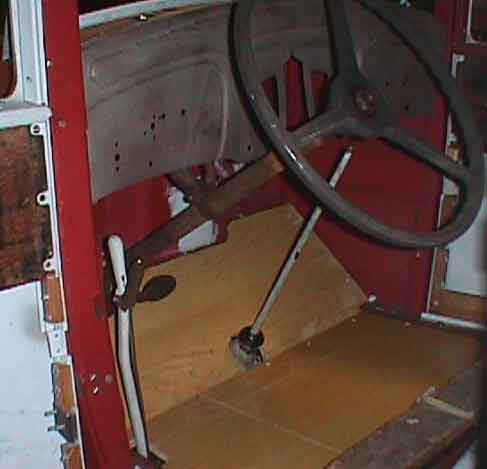
I mounted the rain drain holder under the rear windows. Drilled holes for the footstep and threaded the bolts in the frame. Adjusted the left side fenders so the outside line is ok.

drain

shelllamps

Radiator and steering

There is not so long ago that I wrote in the dairy but there is some small goals that has been achieved.
The first “big” surprise the last month has been when the radiator shell and the headlamps came from Greg that had delivered the package to Hershey swap meet where my helping hand picked it up and sent it to Sweden. When I fetched the package I also find an universal joint for the rear axel connection that Kjell in Örebro had in his barn.
After much trying and lot of muscle , warming and a lot of thinking at last the steering wheel could be loosen from the steering column. The outer pipe was very damaged and rusty which I changed to a new one.. The contact in the bottom of the steering column where cleaned and the long rod where also new and with the ingenious connection to the contact which I found much information on the WOKR website. The hole steering mechanism where at last painted black. The steering wheel is now being restored. I should also make a new button at the top that fits to the steering wheel.
The front floor ,the toe board and the plate under the front seat has been mounted. The picture shows also the iron that holds the front seat mechanism.

floorfront

frontseatplate

radiatshell1

steeringw1

Already November

It is already November when I am writing this.
Under October I began within making new outside handles. I made a tool to press the handle skin, but after making some (many) testing I decided to take the old ones and make only one new. That was after many ,many hours of testing.
Made new glass settingchannels for all windows. Fitted the front window with all mechanisms. That one is ready for paint, rubber and glass.
Delivered the front axel to Sören so he could help with the the spindles, bolts and bushings. The bearings has arrived.
Mounted the front springs with there shackles in the frame.
Thefloor in the rear under the seat has been mounted and welded in place and finally got an layer of paint over it.
The wooden floor in the rear and thetoe boards is just what I being working with now.When getting it fit proper I also fitted the steering column and the flywheel house with pedals to see how it would work with the toe board.In the same time I also working with thefront seat and the mechanisms that moves the seat .Sandblasting, painting fitting and threading the holes.
I shall say -Thank You to Mike Barbour who is helping me with measures for the front seat and the rear bumper. The last one is handed over to on helping hand who would bend and curve the irons.
The radiator shell and the head lamps is shipped from US to Sweden and would perhaps arrive November or December.

floorrear

frontseat

frontspring

frontwin

hand1

hand2

toeboard

window

Steering and universal joint

This month I have been working with the front axel in terms of ordering bearings and trying to machine thespindle bolts to dimensions that fits the bearings. When working with that I contacted Sören and he advised me to get it all done at the same time in his workshop when the bearings arrive . Meaning new bushings, spindle bolts, and a bigger hole in the axel. The axel and some other parts has been sandblasted and got an layer of primer.
The gas tank was finished soldering and fitting the gas gauge and painting it all black.
The rear universal joint was cleaned and examined .With the result of new must be mounted. Find one is not easy but I have contacted one that had the Mechanics data sheet for my universal joint.
Thegear box has been mounted in all parts and after I got some small parts from Kjell in Norway I succeed to get all work proper.
The shock absorbers has been examined an one was ok ,two is needed be serviced and one must completely restored. I have been making pin bolts and nuts to two of them.
The last thing I have done this month is making adjustments to the right rear door.
I have also been in contact with Greg Gumtow and he would help to get the radiator shell and headlights from US to Sweden.

frontaxel3

gearbox4

radiatshell

reardright

univjoint

shockabs

Information and dismounting

Hi everybody that is enjoying my job on this project. I hope that you not have been disappointed when visiting this site and seen that I have not written anything during July.
When Kjell visited me in May he took some photos of me and my car. He also took a trip to Sören and looked on hiscar.
There has been many mails to WOKR members trying to get information regarding the front axel. I have also got some help from everyone that answered. That ha give me a solution to the front axel adventure .I have disabled the axel into some parts that would got to be sandblasted and the parts that I have cleaned myself.
All the hydraulic shock eliminators has been cleaned and is ready for new oil and paint. The transmission mounted but there is one part missing. The flywheel house cover with axel machined and pedals with new made bushings. All has been cleaned and ready for paint.
The front window is dismounted in all it parts remounted ready for paint and glass. The petrol tank is in progress with a helping hand from a workshop and then I made the sides and mounted the tank filler neck .The gas gauge is not yet installed. The rear trunk luggage rack is fitted in place When working with the rack I discovered that the rear bumper is missing anyone that have measures

clutch

frontaxel1

frontaxel2

gastank1

gearbox3

jag

soren

paketh

shockabs

TEST

kjell

The spring cushion and frontaxel

The spring cushion is going to be fitted in place and I have to talk the person who is going to help me I have also been repairing the rear axel for the Whippet 96 it was leaking oil into the brakes which I was forced to repair.
The front axel chapter is in some progress I have some doubt about the strength which one to choose but it seems just now that I will choose the axel from the Willys 97.The drum looks very good and I am forced to drill for the wheel bolts so that they will fit my wheels. Some e-mail has been sent to members in the WOKR that perhaps has some answers.
The plate that covers the gas tank has a new one been made. First to make a tool that make ribs and then an other tool that make the round hole. When they have been stamped I made the plate to fit the curve on the frame and last to fit proper in place
A new bushing for the main shaft in the gear box has Sören made to me. He also has fitted the new ring gear to the flywheel.

cushion

framaxelint

frontaxel97

gashole

gasplate

gastool

startkrans2

whippet

Visitor and fitting the body

This months highlight was when Kjell Fagerland visited me. He had two hubcap to my car! Thank You Kjell.
The most of the time I has spent within making the body to fit proper to the fenders and the footstep. I am not ready with that yet. That means welding ,loosen bolts,drill new holes , fasten 1/4″ UNC bolt with washer and nut and outside finishing with plastic filler and at the last a layer of primer. It takes a lot of time. The work left is the rear fenders where it is welding to be done in the front lower end to the footstep in both sides.
The radiator shell is still laying waiting to be sent to me the only problem is to solve the transport to a reasonable price.
I am measuring to see which way I would fit the frontaxel.

The left rear fender

The left rear fender is more welding done and I hope also the last of welding on that fender. The bolts has been set in the correct place and the fitting is now correct to the body.
Mounted the brakes on the rear axel. There is only to fit the brake cables and calibrate the brakes.
Greg had sent me a mail and said that he has one radiator shell that needs some repair work. I told him that was ok for me and that I was interested of buying it.There is only to find a cheap way of sending it to me.
The radiator is ready and I have mounted it in place to see how it fits..
The rest of the time I have been adjusting the door and roof on the right side ,welding,sanding and plastic filling so it is nearly ready for painting!!
I am waiting for the engine.

frhsida

hoovsida

kyl

Bearings and rear axle

Since last month I have had an cold and was out of work enthusiasms some days. But never the less I have been working with the car. The springs in the rear is mounted with grease between the leafs.
The rear axel is ready.
After some trouble with the outer bearings and that I have tried to improve the tighten .The rear cover had become a new cork sealing. The differential bearings is secured with steel wire-like before. There is new grease nipples. The brakes is not yet mounted and brakes linings is new and has been glued to the brake shoes. Thank you John for the photos !!!
The springs and the rear axel is mounted to the frame and the shackles is mounted with new bushings reamed both in the springs and the frame. The rear axel is filled with oil. When I tried to mount the U-bolts they where 30 mm to short. That was only to remount the tools for the press and making new threads to the bolts there went 4 hours!
When I fitted the rear fender the sill was not fitted correct I had to make a new one .
Total amount of time 1015 hours

brakes1

rearaxbeh

rearaxel7

rearri

sill1

Spring shackles

I have been made new spring shackles and switched the pin in the frame and the spring with bolts. The bolts has an hole in the center for the grease. The bolt in the front and rear has also been made new. The shackles links is also new. The nuts has also been made too fit the shackles and bolts. On the bolts has an grease nipple been mounted.
This is not perhaps the original style and all the threads has been made with UNF but it looks “old” or?
The door handles I just now thinking of to bought new ones that is similar and not make new ones.
The radiator shell is still missing but I am waiting for that one perhaps turns up.
Total amount of time 985 hours so far…..

shackles

shacklesbolts

springbolts

Rear panel

After the springs my latest work is the side panels in the rear against the fenders over the gas tank. There I began making a simple tool in wood . Which I used bending and making the radius towards the outside. After welding and making the small bend about 8 mm for fitting the rear panel over gas tank.
The rear axel has shims been done that holds the right measure for the bearings.
Total amount of time 968 hours so far…..

rearpanel

shims

woodtool

Springs

The last month I have spent my time making the rest of the work on the springs. When the springs arrived the eyes have been made and the leafs has been curved. Then began the work .Then I cut the ends of each leaf. After that I made clamps totally 10. They have been riveted to the leafs according to the measure I have got from the WOKR. Then the clamps was drilled and an 5/16″ bolt has been mounted at each clamp. To each eye where bushings in steel and bronze made. After that the springs where painted black. The work to be done is to lay a very thin layer of grease between the leafs and then mount it all to the rear axel. For that purpose I was forced to make four new U-bolts. I made a tool to bend with after making threads. The front springs has also new bronze bushings and the springs have also been painted black.

eye

spring

springs

uboltmake

uboltool